


20% off our most popular bundle
Was $109.99 Now $87.99

As adventurers, we all know uphill treks can be tough. Legs burning, faces red, and lungs heaving—it's a real challenge. Add a heavy pack, and it's even tougher.
For the longest time, I dreaded the uphill sections of any adventure. Not only were they physically demanding during the trek, but the day after was painful, and it took me days to recover.
But then, something changed. I realized that reaching the summit meant experiencing views I'd never seen before.
With the breeze in my hair and a sip of my favorite whisky, the whole adventure leveled up.
I learned that whether it's ups or downs, it's all part of the adventure, just like life. Instead of ignoring it or hoping it won't happen, I decided to prepare for it.
So, in this blog, we’ll explore the 5 muscles essential for uphill treks and how to build them up.
When your body is ready, reaching those stunning views in high places will become easier, safer, and more enjoyable.
Understanding the Demands of Uphill Treks
Before we dive into building up the muscles for uphill treks, let's get familiar with what they are.
Because, unlike regular treks, climbing up isn't just about walking. It takes a team effort from different muscle groups to push you up against gravity's pull.
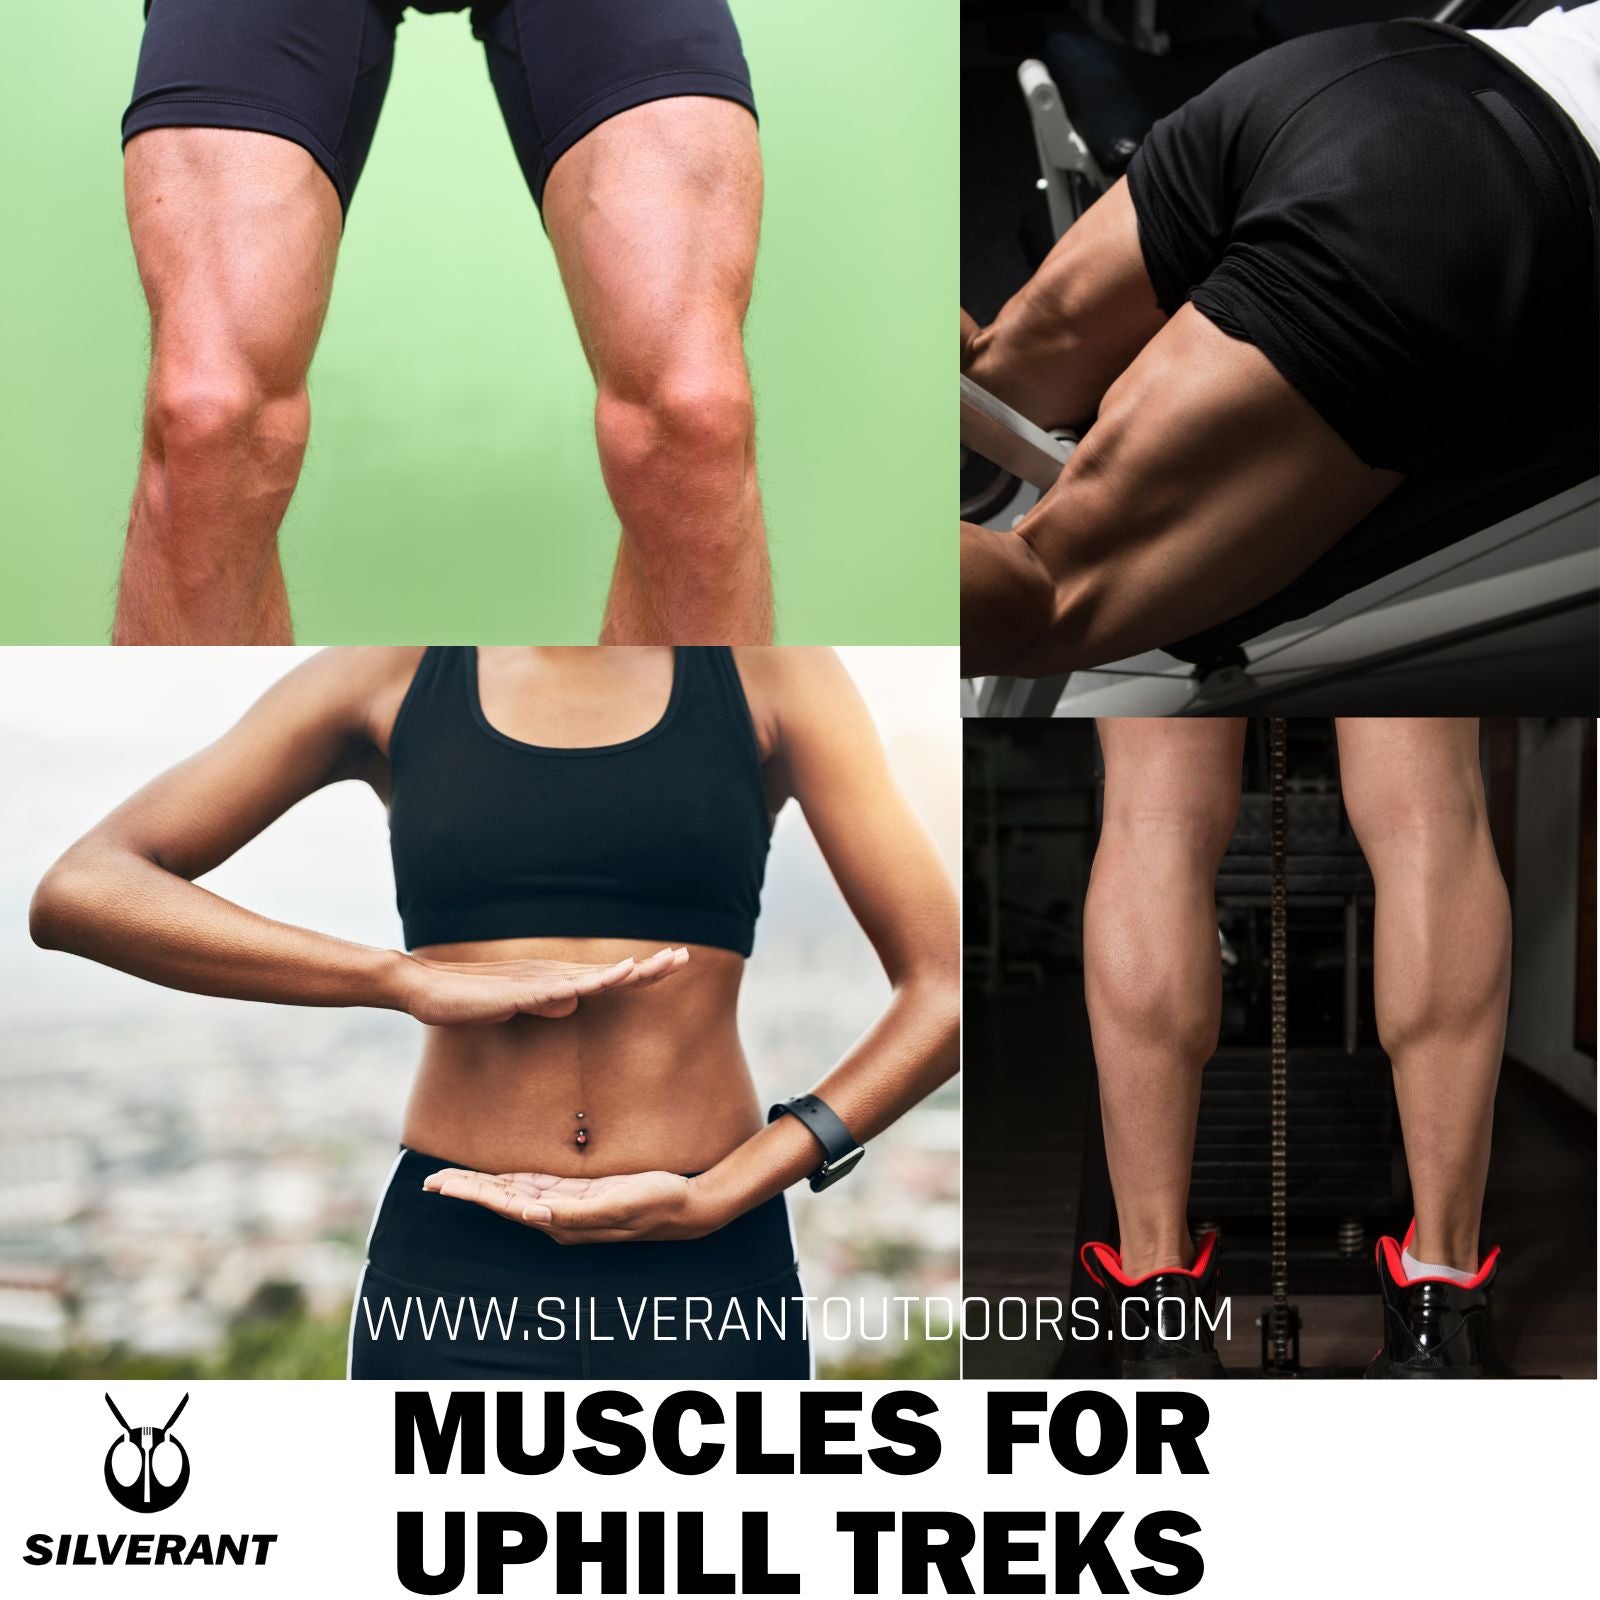
And the main muscles you need are the quadriceps, glutes, calves, hamstrings, and core.
If some of these sound unfamiliar, don't worry. Let's break them down one by one.
Quadriceps
Let's start with the quadriceps, or simply "quads."
These muscles are essential for moving your lower body, particularly during activities like walking, running, and, of course, uphill hiking.
They work together to extend the knee joint, straightening your leg, and allowing you to lift your body with each step.
Whether you're pushing off the ground or tackling a steep slope, your quads are doing the heavy lifting, giving you the strength and power to move forward.
Having strong quads not only makes it easier to climb hills but also improves your balance and stability, reducing the chance of injury on uneven terrain.
Glutes
Then, let's talk about the gluteal muscles, especially the big one called the gluteus maximus.
These muscles are located in your buttocks and play a vital role in hip movement, which is essential for propelling you forward and upward during uphill hikes.
Plus, they're good for keeping your back in check and preventing any discomfort.
Hamstrings
Moving on to the hamstrings, these are the muscles at the back of your thigh.
Their job? They team up with your quadriceps and glutes to help you move uphill.
They're the ones that help bend your knee and extend your hip, giving you that extra push.
And strong hamstrings not only make your whole lower body stronger but also keep it flexible.
Calves
Now, let's shift our focus to the calves, which are pretty familiar to us.
Your calf muscles are made up of two parts: the gastrocnemius and soleus.
The gastrocnemius is the big muscle you see bulging when you flex your calf.
It runs from above your knee down to your Achilles tendon(the tough band of tissue at the back of your ankle). It's the one that helps lift your heel as you step uphill.
The soleus, on the other hand, is deeper and hidden beneath the gastrocnemius. Its job is to keep you steady, especially when your knee is bent, like during a steep climb.
Together, these muscles ensure your foot stays firmly on the ground and your ankle remains stable.
Core
Lastly, onto the core, our final muscle and often overlooked powerhouse.
Even though it doesn't move our legs directly, a strong core is super important for staying balanced and steady on tough trails.
Think about it: as you hike over rocky or steep terrain, your core muscles kick in to keep your body upright and centered.
They're like the foundation for all your movements, ensuring you stay steady with each step.
You might not feel your core muscles working as you climb, but trust me, they're doing their job quietly, keeping you on course.
Simply put, the main muscles you need for uphill climbs are in your front thigh, buttocks, back thigh, calf, and core.
Building Muscular Strength for Uphill Treks
Now that we know which muscles are at play, let's explore how to build up the strength needed to conquer uphill treks with ease.
By doing a mix of exercises that target these muscle groups, you'll boost your hiking abilities and lower the chance of getting tired or hurt.
But remember, before or after any of the exercises listed below, be sure to warm up and stretch to maximize your workout and prevent injuries.
Squats
Let's start with squats, one of the top exercises for boosting uphill power that comes to mind right away.
They're awesome for building up your quadriceps strength, beefing up your core, and making your hips more flexible.
Here's how to do it:
-
Get into position by standing with your feet shoulder-width apart, toes slightly turned out.
-
As you tighten your core and keep your chest up, begin to lower your body by bending your knees and pushing your hips back.
-
Try to go down until your thighs are parallel to the ground, or go as far as feels comfortable for you.
-
Push through your heels to return to the starting position, really focusing on squeezing your butt at the top.
When you're starting out, it's best to use just your body weight.
As you get stronger, you can gradually add more weight, like holding dumbbells or using a barbell.
Fun fact: Squats are also a big deal in Chinese kung fu. The twist? You gotta hold that last position for as long as you can—maybe even half a day. Just kidding!
Lunges
And lunges are our second exercise choice.
They're great for targeting the quadriceps, glutes, and hamstrings, while also improving your balance and stability.
You can switch things up by trying different variations like forward lunges, reverse lunges, or even walking lunges.
These variations challenge different muscle groups and movement patterns, keeping your workout fresh and effective.
Like walking lunges, they not only work your muscles but also get your heart pumping and build endurance as you lunge for a distance.
Adding weight to your lunges and walking can further amp up the benefits, making them a fantastic conditioning exercise for hiking.
And if you're feeling more adventurous, try lunging uphill or downhill for an extra challenge.
While lunges may not perfectly mimic hiking movements, they do help improve your linear motion, making uphill or downhill hiking feel easier.
To start, begin by standing with your feet together.
Take a big step forward or backward with one foot, and then lower your body until both knees are bent at a 90-degree angle.
Make sure your front knee is in line with your ankle and doesn't go past your toes.
Push through the heel of your front foot to come back up to the starting position.
Repeat on the other side, switching legs for each repetition.
Step-ups
Next, let's dive into step-ups, a move that simulates climbing stairs and packs a punch for your quads, glutes, and calves while improving cardio endurance as well.
Having good cardio fitness is essential for any trek you embark on. So, if you're new to cardio workouts, be sure to take a look at "8 Techniques for Building Backpackers' Cardio Endurance" for some solid tips.
Here's your guide to mastering step-ups:
-
Start by standing in front of a sturdy bench or platform.
-
Plant one foot firmly on the surface, making sure your entire foot is supported.
-
Then, push through the heel of your elevated foot to lift your body onto the platform.
-
Fully extend your hip and knee at the top of the movement.
-
Lower yourself back down with control, lightly tapping your opposite foot on the ground before starting the next rep.
-
Alternate legs for each step-up to work both sides evenly.
And here are a few tips to keep in mind:
-
Focus on pushing your weight through your front heel, not your toes.
-
Control your descent as you come back down, avoiding sudden drops.
-
Keep an eye on your knee, making sure it stays steady and doesn't cave inward.
And once you're feeling strong, try adding a barbell on your back for an extra challenge.
Calf Raises
When it comes to calf exercises, it's crucial to keep those muscles strong since they're always active.
Calf raises are ideal for this because they focus directly on the gastrocnemius and soleus muscles in your calves.
Here's the step-by-step for calf raises:
-
Start by standing straight on a flat surface.
-
Lift your left leg off the ground.
-
Slowly raise your right heel while keeping your knee straight. If you need some support, you can place your hands on the wall in front of you.
-
Hold for a second at the top, then lower your heel back down slowly.
-
Repeat the movement.
-
Once you've completed your reps, switch to the other leg.
Remember to take it slow. If you rush, you won't get the full benefit.
If doing calf raises on one leg is too tough, you can try doing them with both legs at once, using the same movement.
And if it's too easy, you can add some weight by holding dumbbells or a barbell, or try standing on an incline for an extra challenge.
Core Exercises
Finally, let's cover the exercises crucial for a strong core.
Great examples include planks, mountain climbers, and Russian twists.
For planks, start in a push-up position, hands beneath your shoulders, and body straight from head to heels. Hold this position, engaging your core for as long as you can.
At first, planks used to be a nightmare for me, but now I can manage them fine.
If you're up for a challenge, try mountain climbers. Begin in a plank position and drive your knees towards your chest one at a time, alternating quickly while keeping your core tight.
And lastly, there are Russian twists. Sit on the ground with your knees bent and feet lifted, clasp your hands together, and rotate your torso from side to side, touching the ground beside your hip with each twist.
Adding these exercises that target the muscles needed for uphill treks can make those uphill adventures much easier, safer, and more enjoyable.
Trust me, you won't have to deal with painful legs anymore when you need to squat to cook or eat with your trusty cookware.

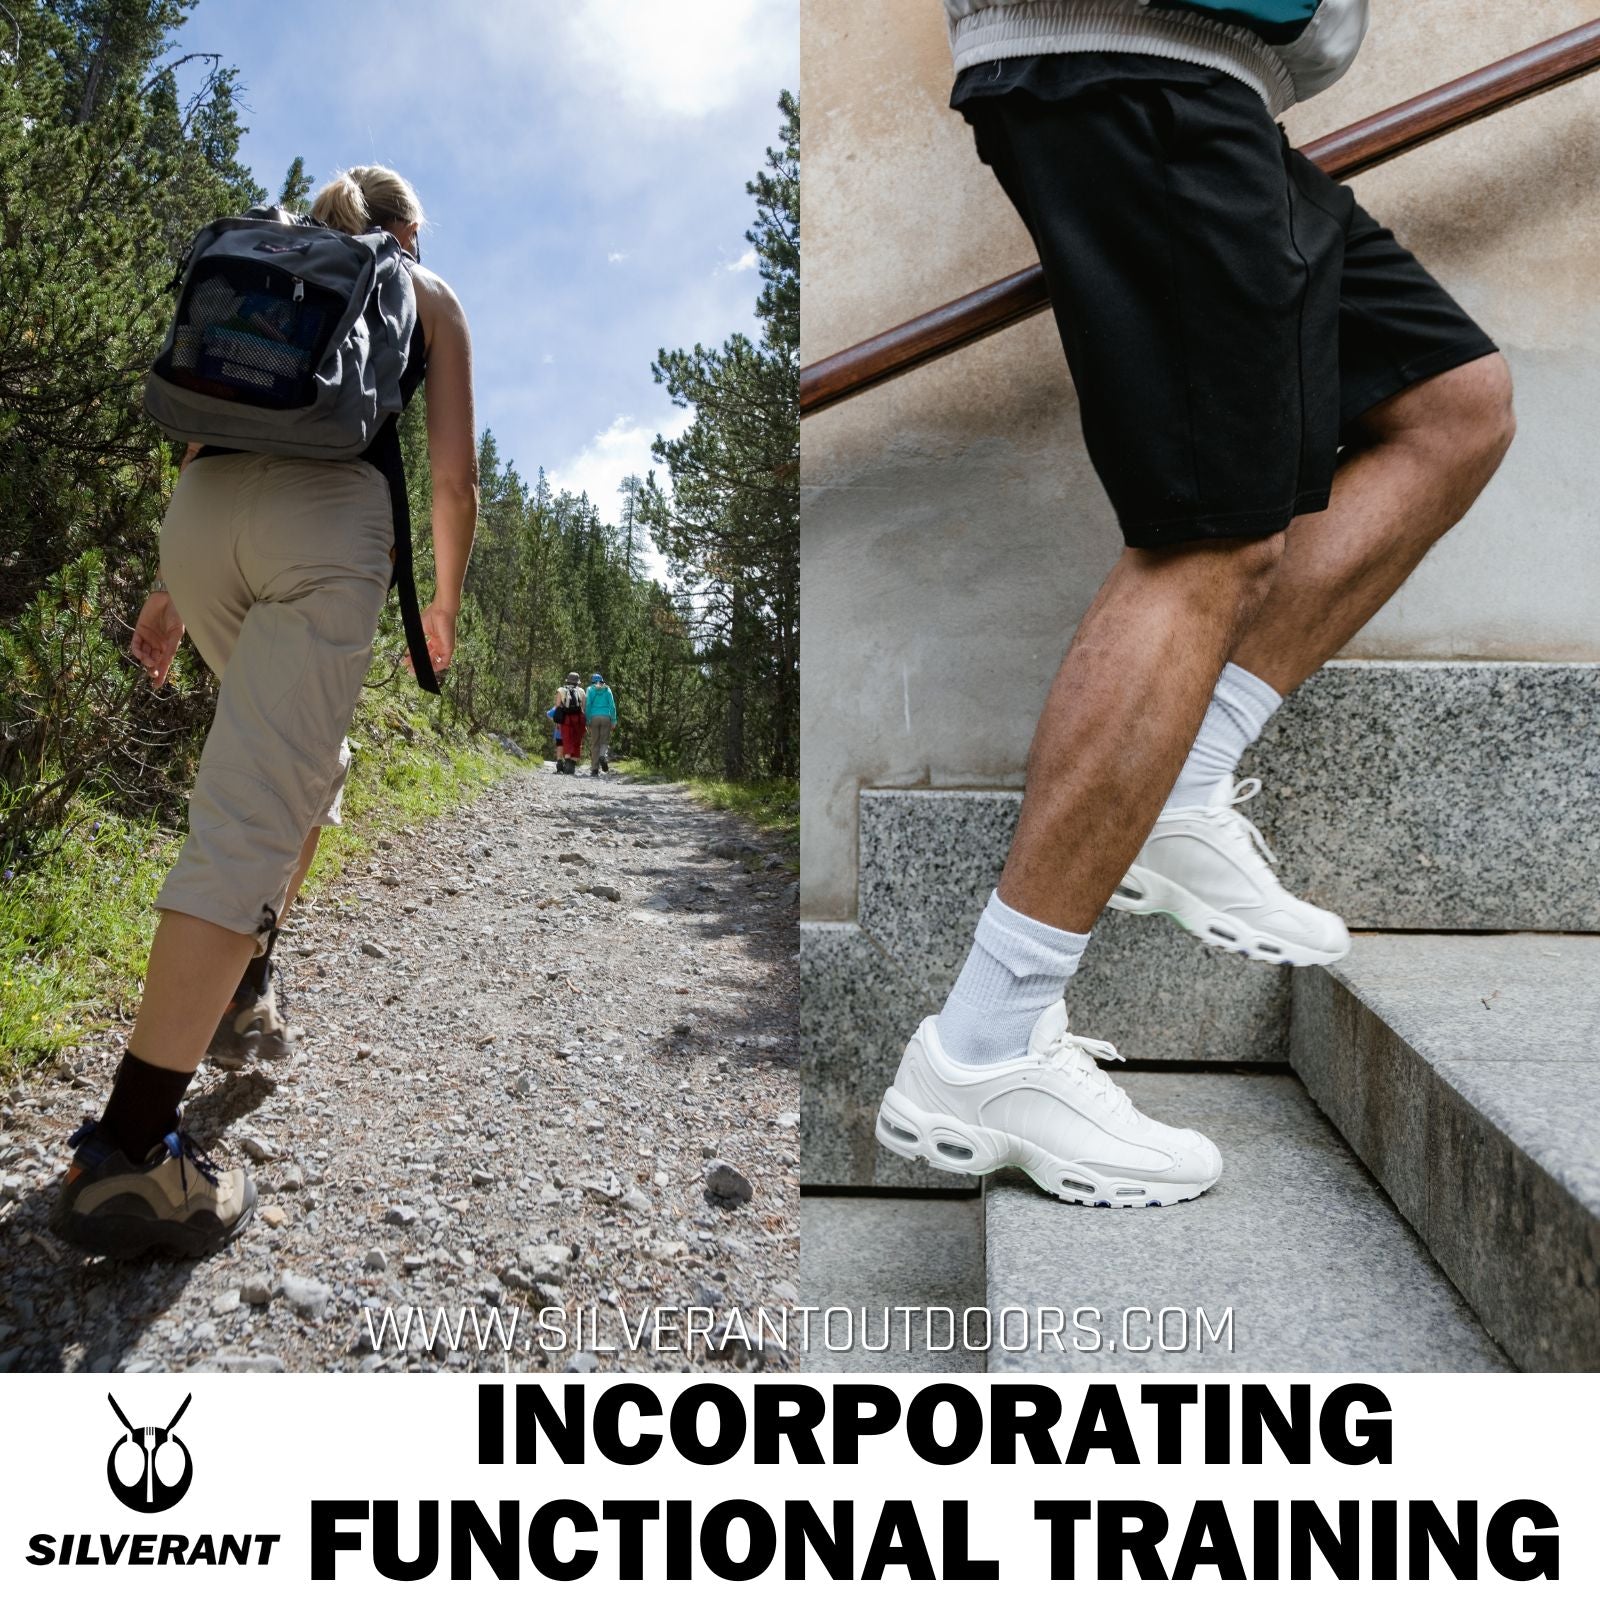
Incorporating Functional Training
However, before you head out on your trip, it's important to include functional training in your routine to get your body ready for those uphill treks.
While traditional strength training exercises are crucial for building muscle and strength, functional training can mimic real-life movements, enhancing your overall performance and lowering the risk of injury.
Hill Repeats
Firstly, if you're lucky enough to have hills nearby, like here in Hong Kong, hill repeats are the perfect workout for you.
It's pretty straightforward: you run or hike uphill at a challenging incline, then take it easy with some walking or jogging downhill or on flat ground during your recovery.
This type of interval training is great for targeting the muscles you use during uphill climbs, all while improving your cardiovascular fitness and endurance.
Again, if you're not sure about your cardio fitness, be sure to take a look at the cardio endurance blog piece we mentioned earlier.
How to do it:
-
Find a hill with a moderate to steep incline, preferably one with a consistent slope.
-
Warm up with 5-10 minutes of light jogging or some dynamic stretches.
-
Then, give it your all by sprinting or power hiking uphill for 30-60 seconds, focusing on using your legs and keeping good form.
-
Once you've reached the top, take a breather by walking or jogging downhill or on flat ground for 1-2 minutes.
-
Repeat this process for a total of 4-6 hill repeats, gradually increasing both the number and intensity as your fitness improves.
And don't forget to bring along your lightweight water bottle to stay hydrated during your exercise, especially in the summer.
Stair Climbing
But if you don't have hills nearby, don't fret! Stair climbing is another great choice to mimic uphill hiking movements.
Whether you're using a staircase or a stair climber machine, this exercise works your quadriceps, glutes, calves, and core while boosting your endurance and stamina.
Here's the guide:
-
Find a set of stairs or hop on a stair climber machine at your gym.
-
Start climbing at a moderate pace, focusing on keeping a steady rhythm and proper form.
-
As your fitness improves, amp up the intensity by increasing your speed or the duration of your stair climbing sessions.
-
To spice things up, try taking stairs two at a time or skipping steps to engage different muscle groups.
With these functional exercises, your body will be well-prepared before your trip. That means you won't have to adjust to uphill treks the hard way.
Conclusion
Uphill treks are no joke—they require serious physical strength.
To tackle them head-on, it's crucial to understand which muscles come into play: your quadriceps in the front thigh, glutes in your butt, hamstrings in the back thigh, calves, and core.
Then, incorporating targeted strength training exercises like squats, lunges, and calf raises, along with functional training like hill repeats that mimic real-life movements will prep your body for even the toughest climbs.
But remember, take it slow and steady, and gradually ramp up the intensity and duration of your workouts to avoid injuries and maximize results.
With dedication and persistence, you'll be more than ready to conquer those peaks and soak in the breathtaking views from the summit.
What exercises do you do to strengthen these muscles needed for uphill treks? If you have any questions about the training routine, feel free to drop a comment or send us a message.
To your next adventure
Steve