


20% off our most popular bundle
Was $109.99 Now $87.99

The first time I learned about high altitude was in my geography class when I heard that water boils at 158 degrees Fahrenheit (70 degrees Celsius) on Mount Everest.
I was so surprised because, at that temperature, food wouldn't cook properly. It got me thinking about how people actually live at such heights.
But it wasn't until I went on my first long hike on the Everest Base Camp Trail that I realized the water temperature wasn't the biggest challenge - it was the thin air.
As I climbed higher, I felt like someone was squeezing my neck, making it hard to breathe on the first day.
Luckily, the pre-hike training I did before the hike and acclimatization tips helped me get used to the increasingly thin air.
So in this blog post, I'll share some practical training strategies for dealing with elevation gain and share tips on acclimatization to help you get accustomed to high altitudes the right way.
Ready to join me? Let's get started on the trail.
Understanding the Challenges
Before we jump into training methods, it's important to grasp how altitude impacts our bodies.
At high altitudes, which are typically above 2,500 meters or 8,200 feet, the air pressure drops as you climb higher. This drop in air pressure results in lower levels of oxygen available in the air.
This reduced oxygen supply can trigger altitude-related illnesses like acute mountain sickness (AMS), high-altitude pulmonary edema (HAPE), and high-altitude cerebral edema (HACE), and these conditions can be life-threatening.
To lessen these risks, you need to ready your body to perform well in such conditions through training and acclimatization.
Also, before setting off on your hike, make sure to opt for ultralight and durable titanium gear instead of heavier steel equipment.
This way, you'll carry less weight without sacrificing their effectiveness, leading to a more enjoyable experience and improved safety on the trail.
Training Strategies for Elevation Gain
Nowdays, I've heard some people believe that high-tech tools for high altitudes can replace physical training. This idea seems pretty ridiculous.
What if these tools fail unexpectedly? You can't risk your life in such dangerous environments.
Cardiovascular Conditioning
Firstly, because having less oxygen is the biggest challenge for high-altitude hikes, the main aim is to boost your cardiovascular endurance.
This means strengthening your lungs, heart, and blood vessels so they can send more oxygen to your muscles, giving you more energy.
So, how do you do it? Think of aerobic activities that make your heart race – running, cycling, or swimming are perfect examples.
Shoot for three to four sessions a week, around 30 minutes each. As you get into the groove, turn up the heat by making your workouts longer or more intense.
If you're new to this cardio stuff, ease into it with rucking – that's walking with a backpack loaded with some weight.
Start light and crank it up gradually. It's like giving your cardio a steady build-up.
And to keep tabs on how well you're doing, check out your VO2 max.
It measures the max amount of oxygen your body can handle during intense workouts.
If it's going up, you're on the right track – literally. When it hits 35ml/min/kg, your cardio system is all set for those high-altitude hikes.
Moreover, I found that combining yogic breathing with cardio training really helped me on my trail.
This technique helps you breathe steadily, making sure you get a consistent supply of oxygen to your lungs.
Why is all this important? Well, when the air gets thinner up there, having killer cardio means your body still gets the oxygen it craves.
Plus, it's your secret weapon against panic if things get a bit hairy on the trek.
Strength Training
Yet, while keeping your heart in good shape is important, don't forget about building strong muscles.
Even if your cardio provides enough oxygen, weak muscles can still put you at risk of injury on tough terrain.
Focus on exercises targeting major muscle groups, like squats, lunges, deadlifts, and core workouts.
Also, include exercises mimicking uphill and downhill hiking movements, such as stair climbing and step-ups, to get your muscles ready for the trail.
Additionally, don't neglect flexibility and balance training.
If you're unsure about this, check out the blog piece "Fit for the Trail: Training and Conditioning for Successful Backpacking."
Moreover, mix it up with high-intensity bursts of exercise and periods of rest or lower intensity.
This kind of training boosts both your heart fitness and anaerobic capacity, which helps with steep inclines and altitude challenges.
You can add intervals to your workouts by switching between brisk walking or jogging and periods of rest or slower-paced activity.
This will help you build endurance and strength while preparing you for the varied demands of hiking in different conditions.
Altitude Simulation
Once you've made sure your cardio and muscles are all set, the last thing to do is mimic the conditions you'll encounter during high-altitude hikes.
Putting hill training at the core of your preparation is vital. This kind of workout helps your cardio and muscles get accustomed to trekking and climbing mountains.
Trust me, no amount of weight training or aerobic activity can fully replicate the experience of climbing uphill for hours.
Even if you don't have tall mountains nearby, like here in Hong Kong, I still make it a point to go on a weekly hike up Tai Mo Shan.
I bring along all the gear I need, and it still helps me with my training.
However, if you don't have any short hills or mountains close by, there are other options.
You can use altitude training masks or employ altitude-simulating equipment like altitude chambers.
But, please be cautious when using them. Gradually increase your exposure to higher altitudes to let your body adapt over time and avoid any potential injuries.
This step is crucial in acclimatizing to the lower oxygen levels you'll encounter during high-altitude hikes.
Once you've nailed down these trainings, your body is all set to tackle those high-altitude hikes.

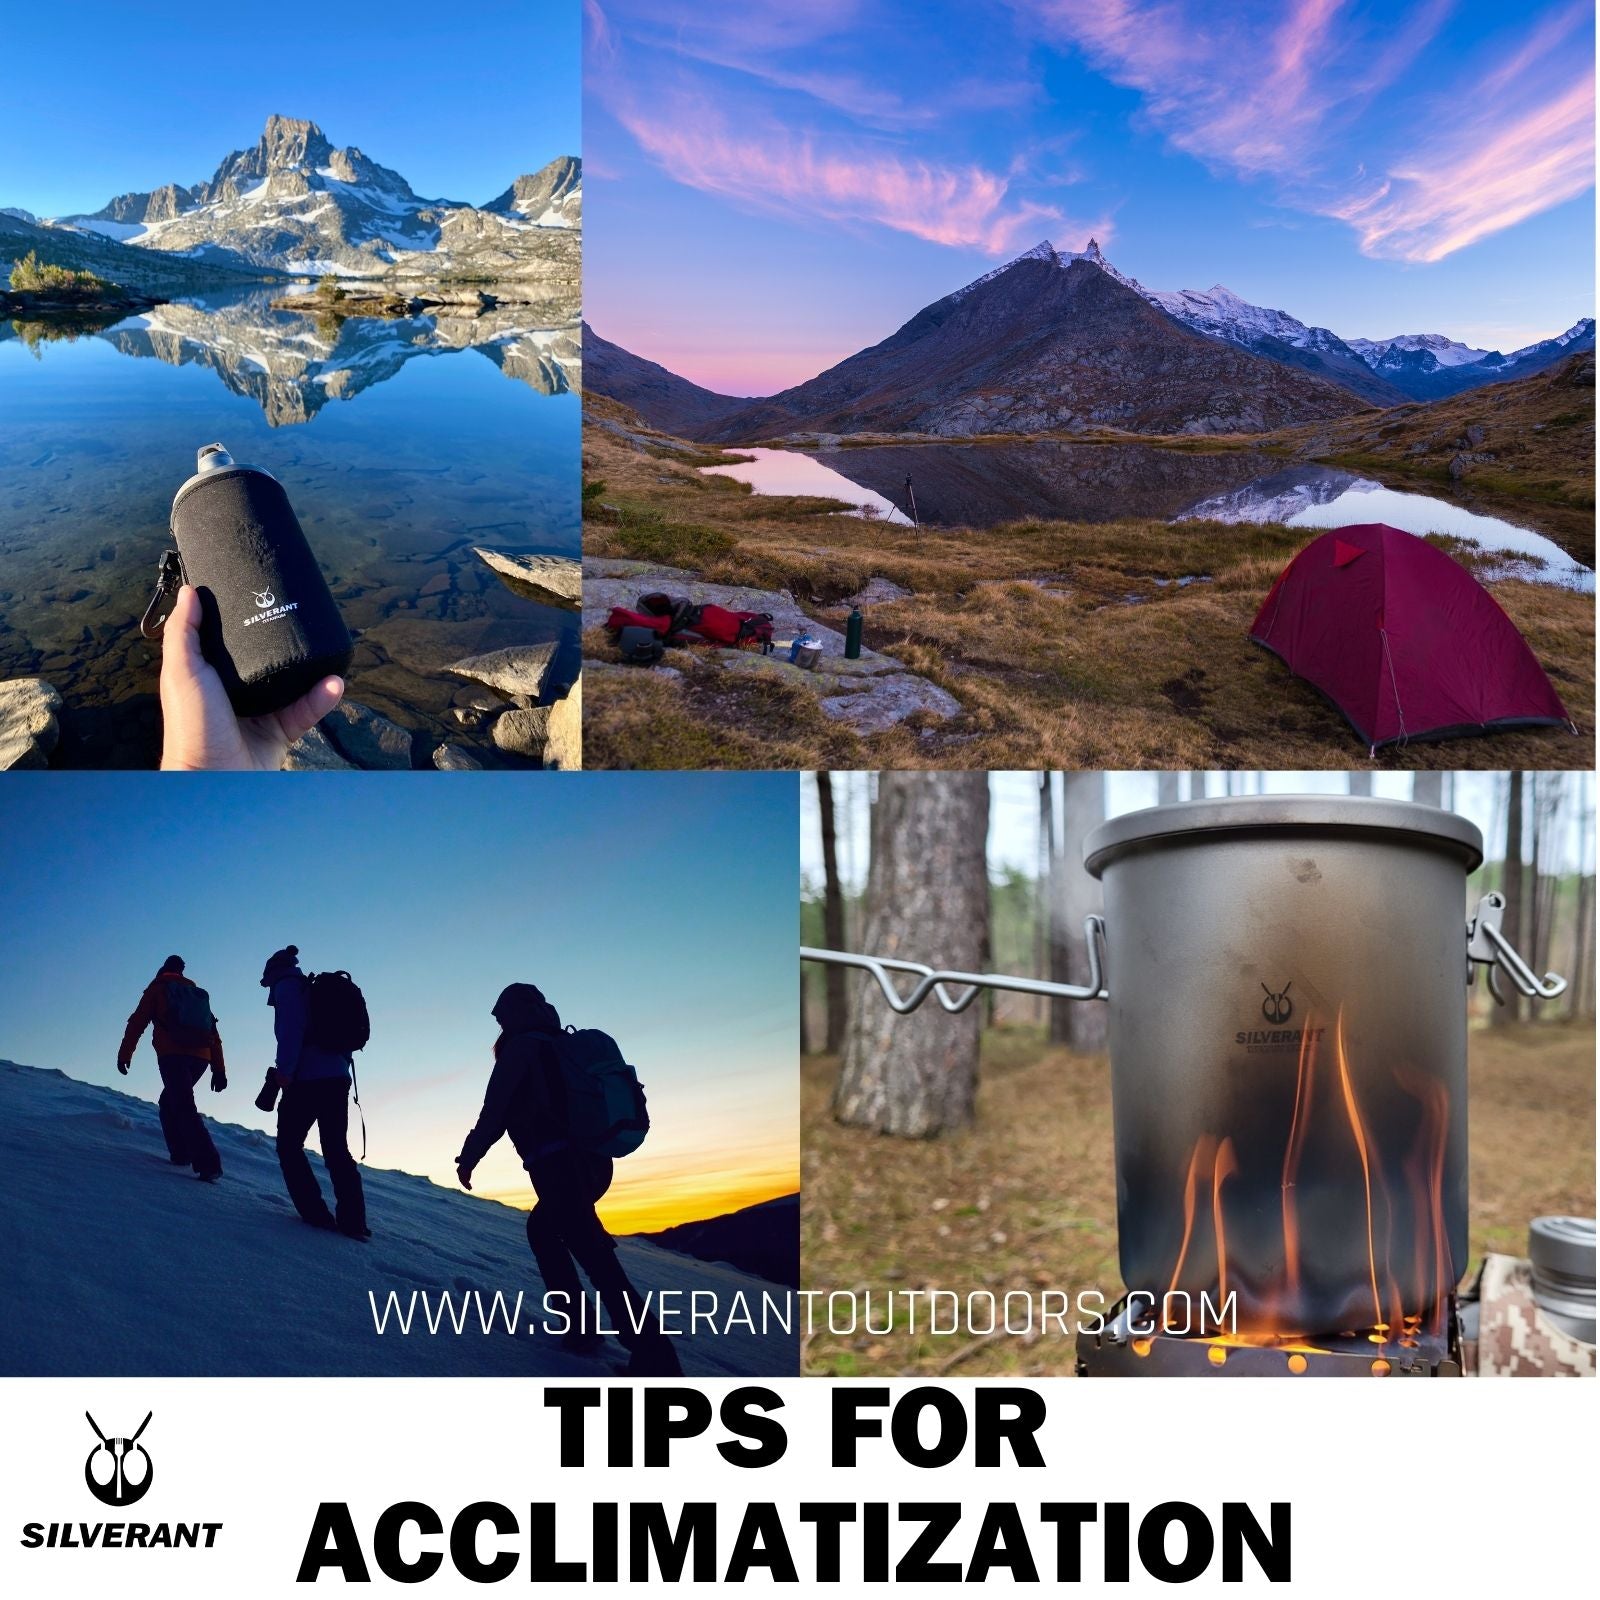
Tips for Acclimatization
But even if your body is ready from all the training, it doesn't mean you can go straight to the top of the trail.
You have to make sure to give your body plenty of time to adapt to the environment, not just the altitude but also taking care of your food, water, and sleep.
Going Up Slowly
To start, as we've discussed in our altitude simulation training, it's important to gradually expose yourself to higher altitudes.
This principle applies to your actual trip as well. It allows your body to adapt gradually, reducing the risk of lung and heart issues.
And the key tip is to spend more time acclimatizing at lower high altitudes.
During my Everest trek, we spent two days at around 3,500m/11,500ft before hitting the trail.
Seasoned hikers emphasized that this step is crucial before ascending further.
Skipping this acclimatization at lower elevations increases the risk of altitude sickness once you go higher, above 4,500m/15,000 feet.
So, don't rush this process. It's essential for your safety and well-being on the trail.
Adapting Your Hydration and Nutrition
Next, staying hydrated and well-nourished can be simple at sea level, but when you're up high, it's a whole different ball game.
Normally, drinking 2-3 liters of water a day while hiking at low altitudes is fine. But when you're at high altitudes, that's not going to cut it.
Your body is much more prone to dehydration up there compared to sea level. The combination of dry air and other factors means your body loses water twice as fast.
So, you'll need to drink about twice as much water—aim for 5 to 6 liters a day—compared to what you'd drink at lower altitudes.
And it's crucial to avoid dehydration caused by alcohol and caffeine.
I get it, alcohol will warm you up, and caffeine can give you a boost, but it's safer to steer clear of them during your first high-altitude hike.
Plus, as we mentioned earlier, boiling water at high altitudes can be tough due to the lower atmospheric pressure.
The higher you go, the lower the boiling point, making it tricky to get a good boil.
That's why we're launching our new rice cooker with pressure this year—it ensures water boils fully even at high altitudes.
During my Everest trip, it was a trusty companion for boiling and cooking.
When it comes to choosing a stove, your best bet is a liquid-fuel stove.
The remote fuel bottle lets you maintain the stove's pressure manually, ensuring a steady output no matter the conditions.
And because of the lower boiling point, which means less heat, cooking food in water takes more time.
For dishes that normally cook in 20 minutes or less at sea level, you should add 1 minute of cooking time for every 1,000 feet (310 meters) of elevation.
For longer-cooking items, add 2 minutes per 1,000 feet (310 meters) of elevation.
Since more cooking time means you'll need more fuel, it will be a good idea to bring extra fuel bottles.
However, using a heat exchanger and windscreen can help save energy and reduce cooking time.
Furthermore, if you're a fan of brown rice and everyday dals like me, you don’t need to simmer your food at high altitudes.
Often, a few extra minutes of soaking is all it takes because water vaporizes more easily up there.
Moreover, altitude can mess with your appetite.
As your body gets used to higher elevation, it's normal to not feel as hungry, but it's crucial to eat even if you're not craving it.
Also, potassium has been proven to be beneficial at higher altitudes for maintaining muscle and nerve function.
Make sure to include potassium-rich foods like bananas, potatoes, broccoli, leafy greens, proteins, nuts, and dried fruits in your diet. And these foods provide all the essential nutrients you need.
Additionally, bringing along multivitamins to supplement your diet at altitude is a smart move.
Sleep Adaptation
Another crucial aspect to consider is that sleep can be a bit tricky at higher altitudes.
The thin air tends to mess with your sleep patterns, making it harder to get a good night's rest.
The reduced oxygen levels can keep your brain more alert, making it challenging to fall into a deep sleep.
That's another reason to steer clear of caffeine drinks, which can further disrupt your sleep.
If you're planning a short trip to altitude, make sure to get plenty of rest before heading up.
But if you'll be spending an extended period at high elevations and find yourself struggling with sleep, consider incorporating breathwork or meditation into your bedtime routine.
Additionally, you can use altitude tents in your training to help your body get accustomed to the conditions in advance.
It's all about making sure you're well-rested and ready to tackle the challenges of high-altitude hikes.
Trying local remedies
Finally, in addition to your thorough preparation, be open to local remedies to combat altitude issues.
For instance, in the Andes, people often chew coca leaves or drink coca tea.
During my Everest trip, I noticed locals consuming chhurpi, a dried yak cheese.
While I can't confirm its effectiveness, it does provide a good source of energy, nutrition, and moisture.
So, give it a try—you might find it beneficial on your high-altitude adventure.
Now, armed with a well-prepared body and practical acclimatization tips, you're all set to conquer those high-altitude hikes.
Conclusion
Heading out on high-altitude hikes promises incredible rewards for those up for the challenge, but a safe and enjoyable experience demands proper preparation.
Include effective training strategies like cardiovascular conditioning, strength training, and altitude simulation to get your body ready.
Following acclimatization tips like gradual ascent, proper hydration and nutrition, and adjusting your sleep patterns, as well as exploring local remedies, greatly improves your chances of success while reducing altitude-related risks.
Moreover, remember to tune in to your body, stay aware of altitude sickness symptoms, and prioritize safety throughout your journey.
With the right preparation and a positive mindset, you'll conquer high-altitude trails, crafting unforgettable memories amidst the majestic mountain heights.
And, as mentioned earlier, opt for titanium gear to lighten your load. Every ounce less contributes to both safety and enjoyment.
Have you ventured on a high-altitude hike? If not, share your thoughts in the comments or send us a message.
We'd be delighted to engage in a discussion and provide more insights.
To your next adventure
Steve