


20% off our most popular bundle
Was $109.99 Now $87.99

Introduction
In today's high-tech world, where many things in our daily lives are all about ease, machines, and staying connected online, it's easy to forget the basic skills our ancestors relied on for centuries.
We often rely on smartphones, GPS, packaged food, and cozy houses, which can make us forget about the survival skills early humans had to know.
Primitive bushcraft is similar to camping and hiking, but it's more about getting close to nature's wild side.
It takes us back to a time when people had to be resourceful, adaptable, and understanding of nature to live well.
Learning these old skills can connect us to our past, like our ancestors who lived outdoors. They also connect us deeply to the land itself.
And for people who love spending time in nature, whether for fun or just to feel closer to it, primitive bushcraft skills are essential.
In this guide, we'll dive into various primitive bushcraft techniques, covering:
-
What is Bushcraft?
-
Shelter Building
-
Fire-Making Techniques
-
Water Sourcing and Purification
-
Foraging and Hunting
-
Cordage and Knot Tying
-
Primitive Navigation
-
Basic First Aid
This article is your starting point if you're new to bushcraft.
It will give you the essential knowledge you need not just to survive but to thrive in the great outdoors.
What is Bushcraft?
Before we dive into primitive bushcraft techniques, let's understand what bushcraft is all about.
Bushcraft is a set of skills and knowledge that help people survive and thrive in natural settings.
It teaches us how to make the most out of minimal equipment and resources.
It covers a wide range of abilities designed to make us self-reliant and capable of taking care of ourselves in the wild.
At its core, bushcraft is about forming a deep connection with nature.
It's not just about surviving; it's about living comfortably and sustainably with the resources nature provides.
It's all about respect for the environment and using it wisely.
In a nutshell, bushcraft is more than just learning skills. It's a way of life that encourages us to connect with nature, be self-reliant, and appreciate the beauty of the wilderness.
It's a journey where the land is both our teacher and our sanctuary, and where we treat the environment with care and respect.
Shelter Building
In primitive bushcraft, knowing how to build a shelter is a crucial skill that can keep you safe and comfortable in the wild.
Unlike regular camping, where you bring your shelter, primitive shelter building means creating a protective home from things you find in nature.
One common method is building a Debris Hut, which involves three main steps: finding the right spot, gathering what you need, and putting it all together.
Selecting the Right Location
Choosing the right place for your debris hut is super important because it affects how safe and cozy you'll be.
Here are some things to think about:
-
Elevation: To prevent the risk of rainwater flooding and waking up to a wet floor, especially on rainy days.
-
Sheltered: Instead of selecting exposed areas, choose locations that provide a shield against strong winds.
It's also essential to read weather forecasts and assess present conditions to determine wind direction beforehand.
-
Proximity to Resources: Make sure you have easy access to water and food sources nearby.
However, don't forget to bring bug repellent because mosquitoes and bugs tend to be around water sources.
-
Hazard Avoidance: Stay away from areas prone to rockslides, falling trees, or frequently used animal paths for safety reasons.
Gathering Materials
Crafting a debris hut necessitates the collection of various natural resources, such as:
-
Long, Straight Branches or Logs: These serve as the skeletal frame for the hut.
-
Smaller Branches and Foliage: Used for insulation and outer covering.
-
Leaves, Moss, or Grass: Essential for creating bedding and insulation layers.
Constructing the Shelter
The assembly of a debris hut entails the following steps:
-
Frame: Lay the longest branches or logs in an A-frame configuration, anchoring them at both ends securely in the ground.
-
Insulation: Apply layers of smaller branches, leaves, and other foliage to the sides of the frame to create an insulating barrier.
-
Roof: Shield the frame with a large layer of leaves, moss, or grass, effectively waterproofing and insulating the shelter.
-
Bedding: Craft a comfortable sleeping area within the shelter using dry leaves, grass, or soft materials.
There are other shelter-building techniques like Lean-To Shelters and Wikiup Shelters, which we'll talk about in later blog posts.
In short, getting the hang of shelter-building in primitive bushcraft is crucial for folks who love the outdoors and those aiming for survival skills.
Take, for instance, my friend Levon's first shot at bushcraft. He didn't bother to check the weather and didn't choose a high spot for his shelter.
Then, one night, it started pouring rain, and he ended up with a soggy floor in his shelter. It definitely wasn't a cozy night, I'll tell you that.
But remember, before you count on these skills in a real situation, practice them in a safe setting. Experience and preparation go a long way in making you better at it.

Fire-Making Techniques
Once you have learned how to build your shelter, the next critical skill to get is the art of igniting a fire without the use of matches or lighters.
There are three widely recognized methods for achieving this:
Bow Drill Method
The bow drill method is an ancient way to make fire using simple tools.
To use this method, you will need a spindle, a hearth board, a bow, and a socket.
By skillfully moving the bow back and forth, the spindle is set in motion against the hearth board, generating friction.
This friction, with consistent effort, produces a smoldering ember.
This glowing ember can then be carefully transferred to a bundle of tinder, initiating the ignition of a fire.
Fire Plough Method
Another method relying on friction for fire ignition is the Fire Plough Method.
In this approach, a dry, flat piece of wood serves as a plough, while a longer, pointed stick functions as the plowing tool.
By pressing down and moving the pointed stick along the groove in the plough, you create friction, which makes a smoldering ember.
This ember can be put into a bundle of tinder to start a fire.
It's worth noting that the Fire Plough Method can be more challenging, especially for individuals with less hand strength.
Flint and Steel
The third technique uses flint and steel.
You strike a piece of steel against a sharp-edged rock like flint, chert, or another hard rock.
This creates sparks, and some of those sparks can land on a pile of tinder. When they do, they can catch fire.
Flint and steel has been a reliable way to make fire for a very long time, even when matches and lighters weren't around.
In modern times, many people use a steel knife and a flint rod for this method.
Remember, mastering these fire-making techniques isn't just about cooking food.
It's also about staying warm and safe in challenging conditions.
Being able to start a fire without modern tools is a crucial wilderness skill that all outdoor enthusiasts should aim to learn.

Water Sourcing and Purification
Water is crucial for staying alive.
In any situation, finding and making water safe to drink is a big deal.
Locating Water Sources
In a survival situation, one of the most important things is finding water.
Nature gives us hints that water is around. Look for:
-
Look for plants: Green plants often mean there's water nearby.
-
Watch animals: Animals like to be near water, so if you see them, water might be close.
-
Check the land: Valleys, low areas, and holes can hold water.
-
Birds flying low: Birds flying low might be going to water.
-
Bugs: Some bugs, like mosquitoes, are near water, so if you see them, water could be close.
Moreover, being close to water is a big deal because you need it for drinking, cooking, and staying clean.
Also, being near water helps you avoid getting too sick from being in bad weather or too much heat, like getting very thirsty or having heat problems.
However, as previously mentioned, remember to bring bug repellent. Otherwise, you might have an unpleasant night constantly warding off mosquitoes.
Water Purification
While the discovery of water is crucial, ensuring it’s safe to drink holds equal importance.
Here are the primary techniques for water purification:
Boiling water stands as one of the most dependable methods for rendering it safe to drink.
It is imperative to maintain a rolling boil for a minimum of one minute (or longer, particularly at higher altitudes).
Following the boiling process, allowing the water to cool is essential before consumption.
Boiling water along with tablets together helps get rid of tiny things that can make you sick, so the water becomes safe to drink.
It is a time-tested and straightforward purification method.
Notes: When you're boiling water outside, the kind of container you use is crucial.
Stainless steel or aluminum containers can react with the minerals present in natural water sources and make it rusty.
As such, opting for a single-wall titanium water bottle proves to be the optimal choice.
These bottles enable you to boil water directly within them, reducing the gear you have to carry.
Besides being safe, titanium bottles are also very light, so they won't weigh down your gear.
This helps you stay safe and have a better time when you're out in the wild.
If you can't boil the water right away, you can try making a basic filter to get rid of some of the bad stuff.
But remember, this won't get rid of everything, just some of the bigger things that can make you sick.
If you have a sensitive stomach, like I do, this method can not be suitable for you.
In summary, the proficiency in water sourcing and purification is a fundamental survival skill.
In the end, knowing how to find and make water safe to drink is a super important skill for surviving in the wild.
It's not just about being thirsty; it's about staying healthy and safe.
So, make sure you learn these skills well and use them when you're out in the wilderness.

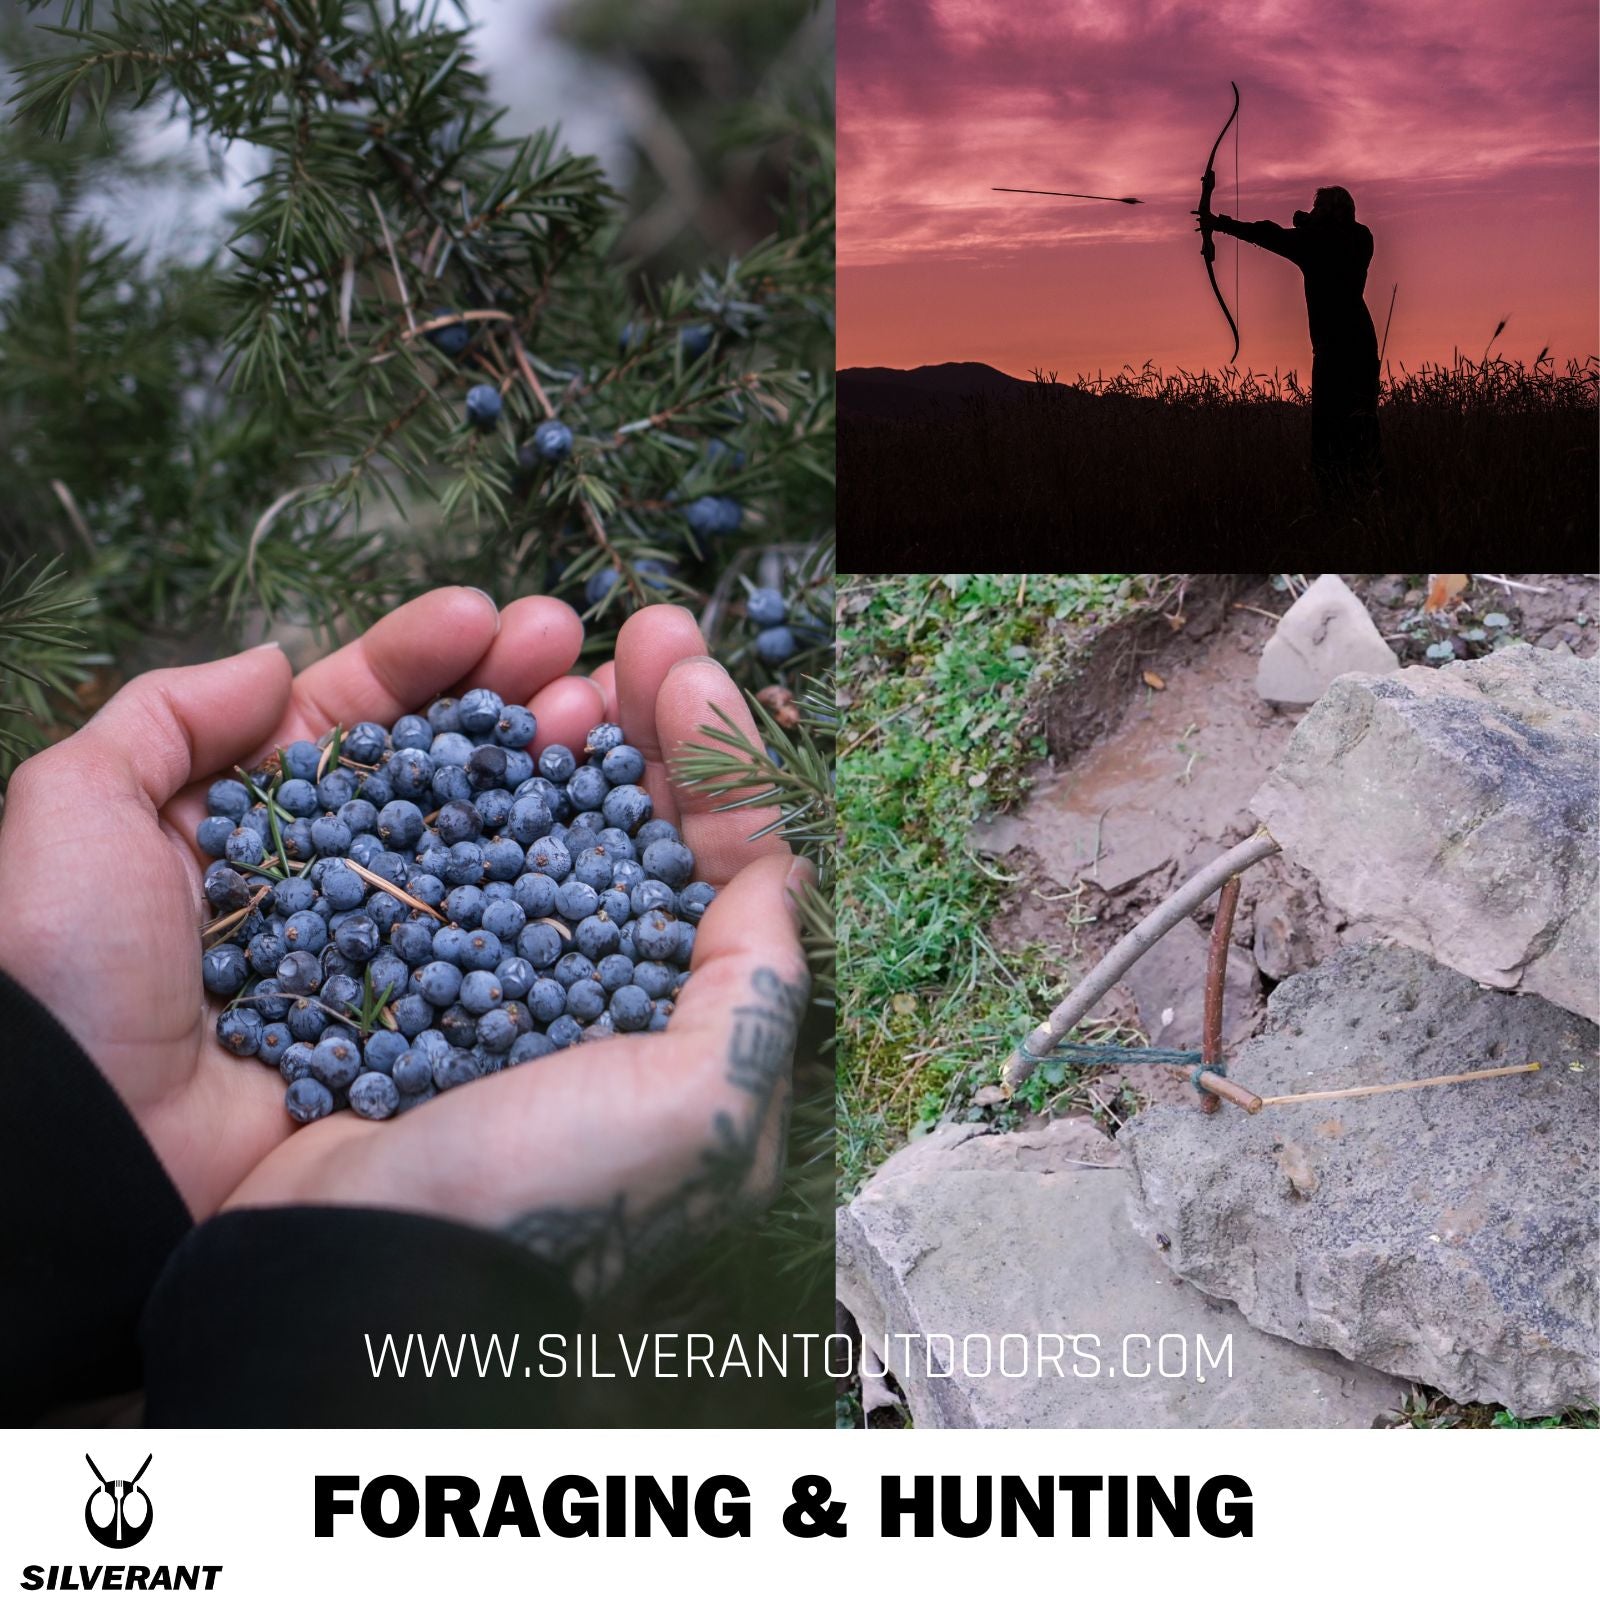
Foraging & Hunting
After making sure you have clean water to drink, the next big step in the wild is finding food to eat.
This means learning which plants you can eat and how to hunt for animals.
Identifying Edible Plants
All around the world, there are many different plants you can eat.
But it's really important to know which ones are safe to eat and which ones can make you sick.
Some poisonous plants have certain features that can help you tell them apart from safe ones:
-
Brightly Colored Berries: Some toxic plants have bright berries that might look tasty but are actually a trick to fool you.
-
Unusual Leaf Shapes: Poisonous plants can have weird or different-looking leaves compared to safe plants.
-
Distinctive Growth Patterns: Toxic plants may grow in strange ways that make them stand out.
-
Milky or Colored Sap: When you hurt certain poisonous plants, they ooze milky or colored stuff, which is a sign they're not good to eat.
-
Unpleasant Odor: ome harmful plants smell bad, and that's a warning.
Some well-known poisonous plants include Poison Ivy, Hemlock, Oleander, and more.
In North America, there are lots of edible plants if you know what to look for:
-
Wild Berries: You can find tasty berries like blackberries, blueberries, raspberries, and strawberries.
-
Dandelion Greens: Even though people call them weeds, dandelion leaves are edible and can be used in salads or cooked like spinach.
-
Cattail: This plant has lots of edible parts, from the young shoots to the roots. You can even use the pollen as food.
Across Europe, there are also delicious edible plants:
-
Wild Garlic (Ramsons): Wild garlic leaves have a strong flavor and can be used in salads or to add taste to dishes.
-
Elderberries: These dark berries are great for making things like jam, wine, and syrup, and they taste really good.
-
Common Sorrel: The leaves of common sorrel have a tangy taste and can be used in salads or cooked dishes.
But remember, it's not just about finding food. It's also important to do it in a way that respects the environment.
Don't take more than you need, leave no trace, and try not to harm the ecosystem.
This way, you can help make sure there's enough food for the future too.
Hunting
Apart from finding food by searching for plants, you can also catch animals for your meals when you're out in the wild.
Learning how to make and use a basic bow and arrow is a handy skill that connects modern survival with ancient hunting traditions.
It takes practice to use it well, but it can be effective for hunting both small and large animals.
If you don't have a bow and arrow, you can still learn to use slingshots and spears.
I remember trying out a slingshot in my backyard during my middle school holidays. I missed my target and accidentally hit one of my mother's hens, causing it to faint. She was quite upset, and I ended up being grounded for a week.
These tools are versatile and can be helpful for hunting different kinds of animals.
Another way to catch animals is by setting traps. Two common types of traps are deadfall traps and pitfall traps, and they can be very effective.
Once you have your food in the wilderness, the next step is cooking a good meal.
Just like we mentioned before, when it comes to safety, titanium cookware is the best choice.
Titanium doesn't react with water or food, so it keeps the natural taste of your meals.
This means you can enjoy a fantastic meal like never before in the wild.
If you need some cooking ideas, you can check out our blog post called "Ultralight Backpacking Recipes: Cooking Delicious Meals with Titanium Cookware."
It has a bunch of tasty recipes that will make your wilderness dining experience even better.
To sum it up, knowing how to find food by foraging and hunting is really important for surviving in the wild.
Whether you're identifying plants you can eat, making basic weapons, or setting traps, these skills show how resourceful and adaptable humans can be.
They're not just about getting food; they also help you connect with nature and make sure you can survive in the wild.
Cordage and Knot Tying
The next skill you must acquire is the art of cordage.
Cordage is very useful in the wild. You can use it for setting up a tarp, starting a fire using a fire bow, or creating snares and traps to catch animals.
To make the most of your cordage, you should also be good at tying knots.
Here are a few knots that every wilderness enthusiast should know:
-
Square Knot (Reef Knot): Imagine the square knot or reef knot as your trusty old friend who always brings things together.
This knot is your go-to buddy for bundling items, wrapping packages, or even creating makeshift bandages when the situation calls for it.
-
Bowline Knot: When you require a strong loop at the end of your rope, such as for climbing or hanging food out of reach from animals, knowing how to tie a bowline knot is essential.
Think of it as a sturdy anchor that forms a reliable loop at the rope's end.
-
Taut-Line Hitch: Lastly, if you ever need an adjustable knot to secure a rope to a solid object while keeping it taut, the taut-line hitch comes to the rescue.
It's particularly handy for setting up shelters, especially when you need to make adjustments due to changing weather conditions.
I have to admit, mastering all these knots isn't a walk in the park. If we look back to the Age of Discovery, sailors had to become experts in hundreds of knots. Just imagine how challenging and frustrating that must have been!
Besides knowing how to tie knots, it's also important to be able to make cordage from natural materials.
Plant fibers and animal sinew are two of the best materials for this.
You can easily find plant fibers in nature. Some plants like nettles and yucca have strong and flexible fibers that are perfect for making cordage.
Animal sinew comes from tendons and ligaments.
When you prepare it properly, it becomes incredibly strong and tough.
Many people prefer sinew for making cordage because it's so reliable, especially in tough outdoor situations.
In conclusion, being able to make cordage and tie knots is a basic survival skill that can help you in many ways in the wilderness.
Whether you're making cordage from plant fibers or animal sinew, knowing how to tie essential knots will make it easier to build shelters, create tools, catch food, and handle all kinds of challenges in the wild.

Primitive Navigation
In the wild, where you can't easily use GPS or compasses, understanding how to use the sun, stars, and shadows is a really helpful skill for finding your way and knowing the time.
Let's talk about how to use these natural cues to improve your navigation skills in the wilderness.
Determining Cardinal Directions
The cardinal directions—north, south, east, and west—serve as the fundamental pillars of navigation.
Without a compass, you can rely on nature's hints:
Solar Noon
To figure out direction using solar noon, first, find when the sun is highest in the sky. This is solar noon.
Next, stick a straight object, like a twig, into the ground and mark where its shadow ends.
Wait for a while and mark the shadow's tip again.
Now, draw a line between the two marks. It will roughly show you east and west, with the first mark as west.
Moss on Trees
If it's cloudy and you can't see the sun, moss on trees can help.
While it's not always perfect, moss usually grows more on the north side of trees because it likes shade and moisture.
So, looking at moss on trees can give you a general sense of direction.
Stars at Night
When night comes, stars become really important for knowing where you are.
The North Star, also known as Polaris, stays almost fixed in the sky close to the north direction.
By finding the North Star, you can find the true North.
And other stars and constellations can help you figure out other directions too.
Telling Time with a Stick and Shadow
In the wild, knowing what time it is can be important for planning your activities and making sure you're not caught in the dark.
You can make a simple sundial with a stick and its shadow:
-
Stick the straight object firmly into the ground, making sure it doesn't move.
-
As the sun moves across the sky, the stick's shadow will also move.
-
Mark where the shadow's tip is at different times to create a makeshift clock. Each mark represents a specific time of day.
If you're a real sundial enthusiast, make sure not to overlook the stone sundial when you visit the Forbidden City in China. The emperor used it to keep track of time.
In the wilderness, where technology might not work, your connection with nature becomes a really important tool for safe navigation.
By learning how to use the sun, stars, and shadows, you can find your way, know the time, and have a richer experience in the great outdoors.
These skills not only bring you closer to nature but also make sure you can explore and enjoy the wilderness safely.

Basic First Aid
Last but not least, when you're out in nature, it's really important to always be ready for things that might go wrong.
Common injuries like cuts, scrapes, burns, twisted joints, and broken bones, as well as more serious things like snake bites, are possible dangers that can happen while you're exploring the wilderness.
Learning how to give basic first aid for these injuries isn't just good for your health but can also really help in making the situation better.
Let's explore how to address these injuries effectively.
Cuts, Scrapes, and Burns:
-
Clean the Wound: Start by washing your hands if possible. Then, gently clean the wound with clean water to remove dirt and debris. Use a mild soap if available.
-
Stop Bleeding: If the wound is bleeding, apply direct pressure with a clean cloth, bandage, or your hand to control the bleeding. Elevate the injured area if necessary.
-
Apply Antiseptic: If you have an antiseptic solution or wipes, use them to disinfect the wound to prevent infection.
-
Cover the Wound: Once the wound is clean and bleeding is controlled, cover it with a sterile bandage or a clean cloth to keep it clean.
-
Burns: For minor burns, run cool water over the burn for at least 10 minutes to cool the skin. Do not use ice. Cover the burn with a clean, non-stick bandage or cloth.
Sprains and Fractures:
-
Rest and Immobilize: If you suspect a sprain or fracture, encourage the injured person to rest and not put weight on the injured area. Immobilize the limb using available materials like sticks, clothing, or a splint.
-
Apply Ice: If possible, apply a cold pack or ice wrapped in a cloth to the injured area to reduce swelling. Do not apply ice directly to the skin.
-
Elevate: Elevate the injured limb to help reduce swelling.
Snake Bites:
-
Stay Calm: Keep the victim as calm and immobile as possible to slow the spread of venom.
-
Immobilize the Bite: Keep the bitten limb immobilized at or slightly above heart level.
-
Remove Tight Clothing or Jewelry: Remove any tight clothing, jewelry, or constrictive items near the bite site.
-
Do Not Suck or Cut the Wound: Contrary to popular belief, do not attempt to suck out the venom or cut the wound.
Even though you might still see this misconception in TV shows.
-
Seek Immediate Medical Attention: Get the victim to a medical facility as quickly as possible. Anti-venom may be required for certain snake bites.
Keep in mind that when you're in the wild, first aid is about giving the first help you can until real medical help is available.
Make sure to bring a good first aid kit with you when you go to far-off places, and know how to use it.
Also, think about taking a wilderness first aid class to learn more about dealing with injuries in the wild.
Your skill in treating common injuries can really change the result in a wilderness emergency.

Conclusion
In simple terms, primitive bushcraft techniques are the building blocks for surviving and taking care of yourself in the wild.
These skills cover many things like building shelters, making fires without matches, finding and cleaning water, finding food in nature, and learning how to hunt and trap animals.
They also include making strong ropes, knowing how to tie knots, using the sun and shadows to find your way, and basic first aid for treating injuries like cuts, sprains, and snake bites.
But bushcraft is more than just learning skills; it's a way of living that connects you deeply with nature.
When you start your bushcraft journey, remember to respect and take care of the environment.
Practice these skills responsibly, leaving as little impact on nature as possible.
Also, using titanium gear can make your bushcraft experience safer and healthier because it's lightweight and doesn't react with food or water.
You can check out our gear collection for more information.
As an added bonus, we've included a file from outdoor enthusiast Terry Campbell. It encompasses a wealth of knowledge gained through all his adventures.
Should you have any questions or require further assistance, please feel free to leave a comment below.
To your next adventure
Steve