


20% off our most popular bundle
Was $109.99 Now $87.99

Cooking outdoors adds an extra dash of flavor to your food, as many campers will tell you.
Initially skeptical on my camping journeys, I’m now a firm believer.
The flickering flames and the outdoor ambiance genuinely enhance the dining experience.
As I delve deeper into bushcraft with minimal gear, these cooking techniques bring a different kind of joy and open the door to a closer bond with nature.
So, in this blog post, we’ll explore seven bushcraft cooking methods that go beyond the usual camp stove.
Let’s look at each one:
• Open Fire Cooking
• Tripod Cooking
• Wood Rocket Stove Cooking
• Rock Cooking
• Grilling on a Stick
• Steam Pit Cooking
• Bamboo Steaming
What’s more, the last four don’t even require any cookware. Let’s dive into these techniques and discover a new dimension of outdoor cooking.
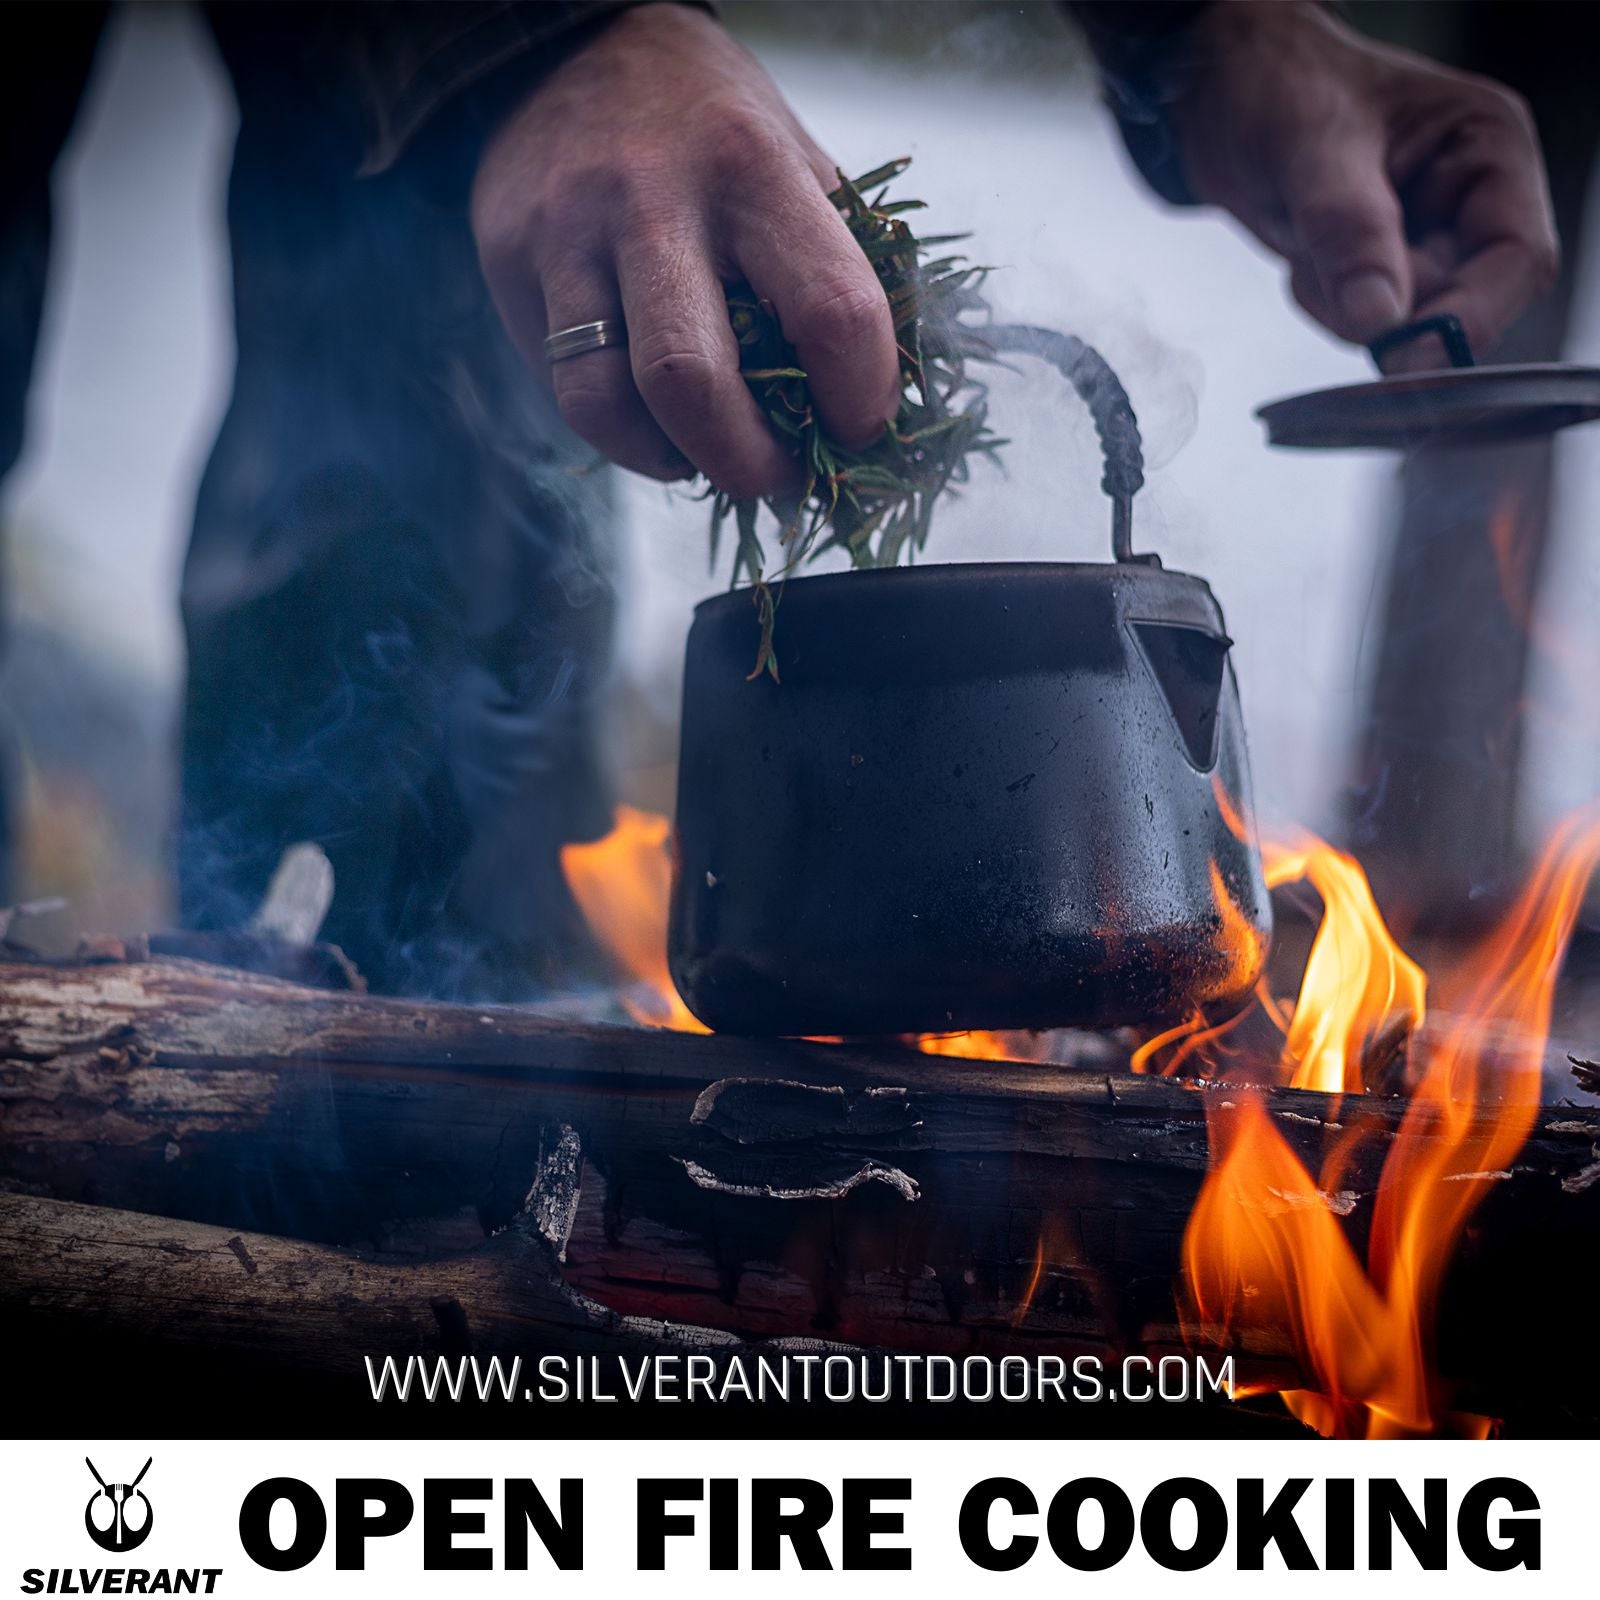
Open Fire Cooking
Let’s kick things off with a classic – open fire cooking.
There’s a special magic in the dancing flames and the link to our ancestors that makes cooking over an open fire timeless and just plain awesome.
Before diving in, find a safe spot with good ventilation for your fire, and make sure you’re following any local rules.
If you’re not a seasoned campfire builder, check out our blog on “How To Build A Campfire” before you head out.
We’ve got to keep our Mother Nature happy and ensure everyone’s safety.
To get started, grab some basic gear – a sturdy and lightweight titanium pot or just some foil if you’re keeping it simple.
Once your fire is roaring, put your cookware directly on the flames or embers, or if you’re feeling fancy, wrap your food in foil and toss it in the embers.
The smoky aroma and rustic flavor will take your outdoor dining to a whole new level.
This technique is perfect for hearty stews like Backpacker’s Chili or Hearty Beef Stew. And don’t forget foil packet meals – think Campfire Burritos.
Oh, and if you’re in Hong Kong and fancy some foil packet chicken, here’s a local tip: smear a bit of wet soil on the foil before tossing it into the fire.
The wet soil magic keeps the chicken all juicy and tender as it heats up, transforming your outdoor meal into a taste-filled journey.
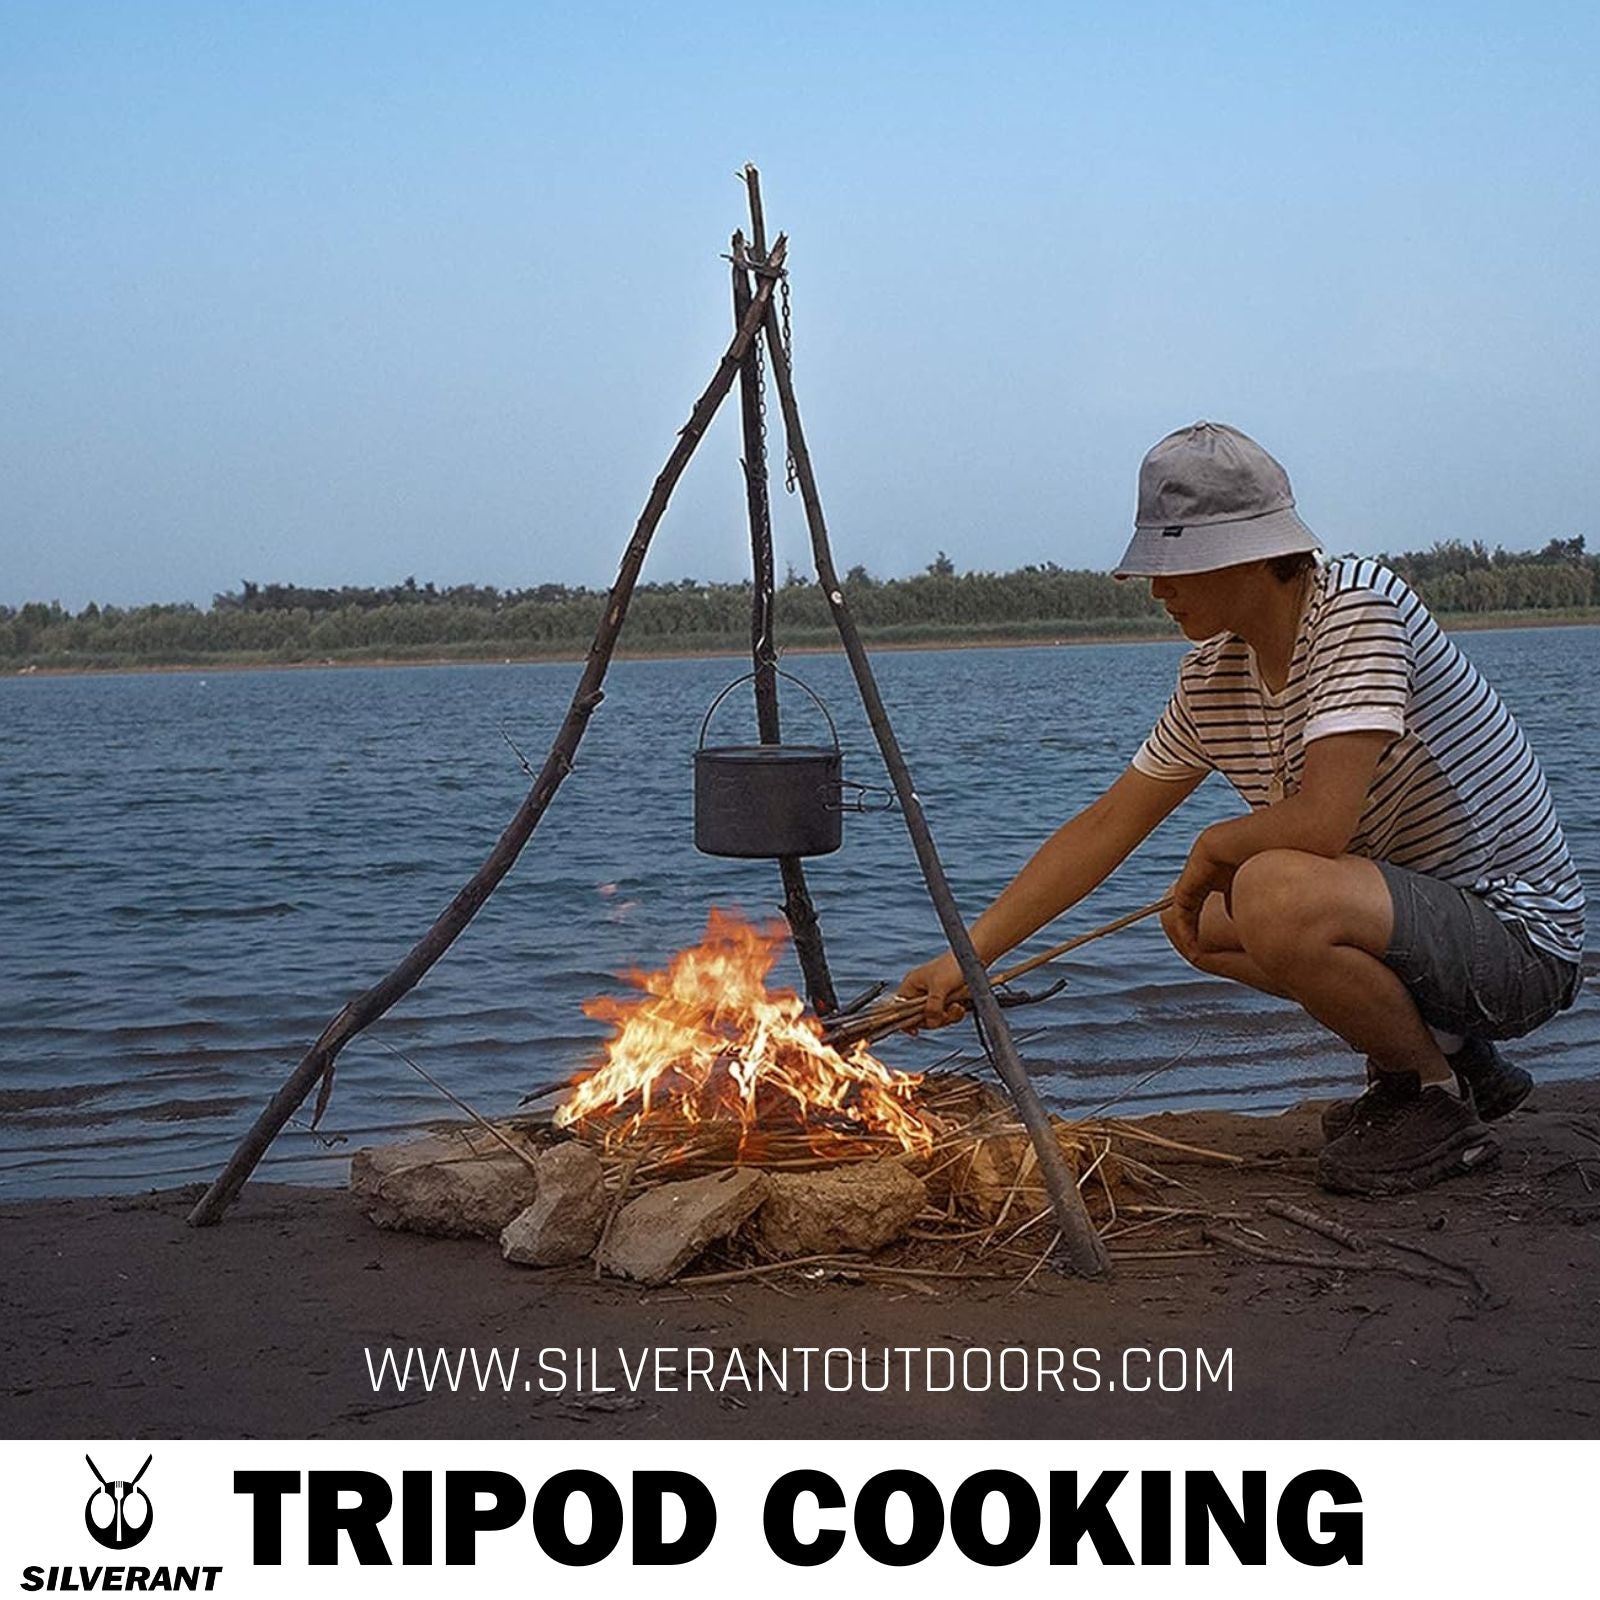
Tripod Cooking
Next, let’s talk about tripod cooking – another age-old method that’s been working its magic for centuries.
If you’ve ever wandered into a traditional Japanese village, you might’ve spotted them in their tatami rooms, using this technique to cook up a storm or boil water for tea.
So, how does it work? Well, it’s a bit like open fire cooking, but with a twist and a tad more setup.
Trust me, the results are totally worth the effort, especially when you want that adjustable cooking temperature.
First things first, secure three sturdy poles in a tripod shape over your fire using shear lashing. It’s a bit like creating a little cooking pyramid.
Next, hang your pot or frying pan from the top of the tripod using a rope with a taut-line hitch or an adjustable metal wire.
This nifty setup lets you tweak the height, giving you total control over the cooking temperature.
Tripod cooking is like having a kitchen in the great outdoors. You can simmer, boil, or fry, depending on your mood.
It’s perfect for soups, stews, and those one-pot wonders that hit the spot.
What I love most is slowly frying fish in a pan over the embers. Squeeze some fresh lemon juice on it once it’s cooked – pure charm on a plate.
Nevertheless, if setting up a tripod feels like a bit of a hassle, here’s a neat trick – the magic Tripod Board.
It turns branches into a campfire tripod in a snap and works like a charm with our titanium pot and pan set with a hanger.
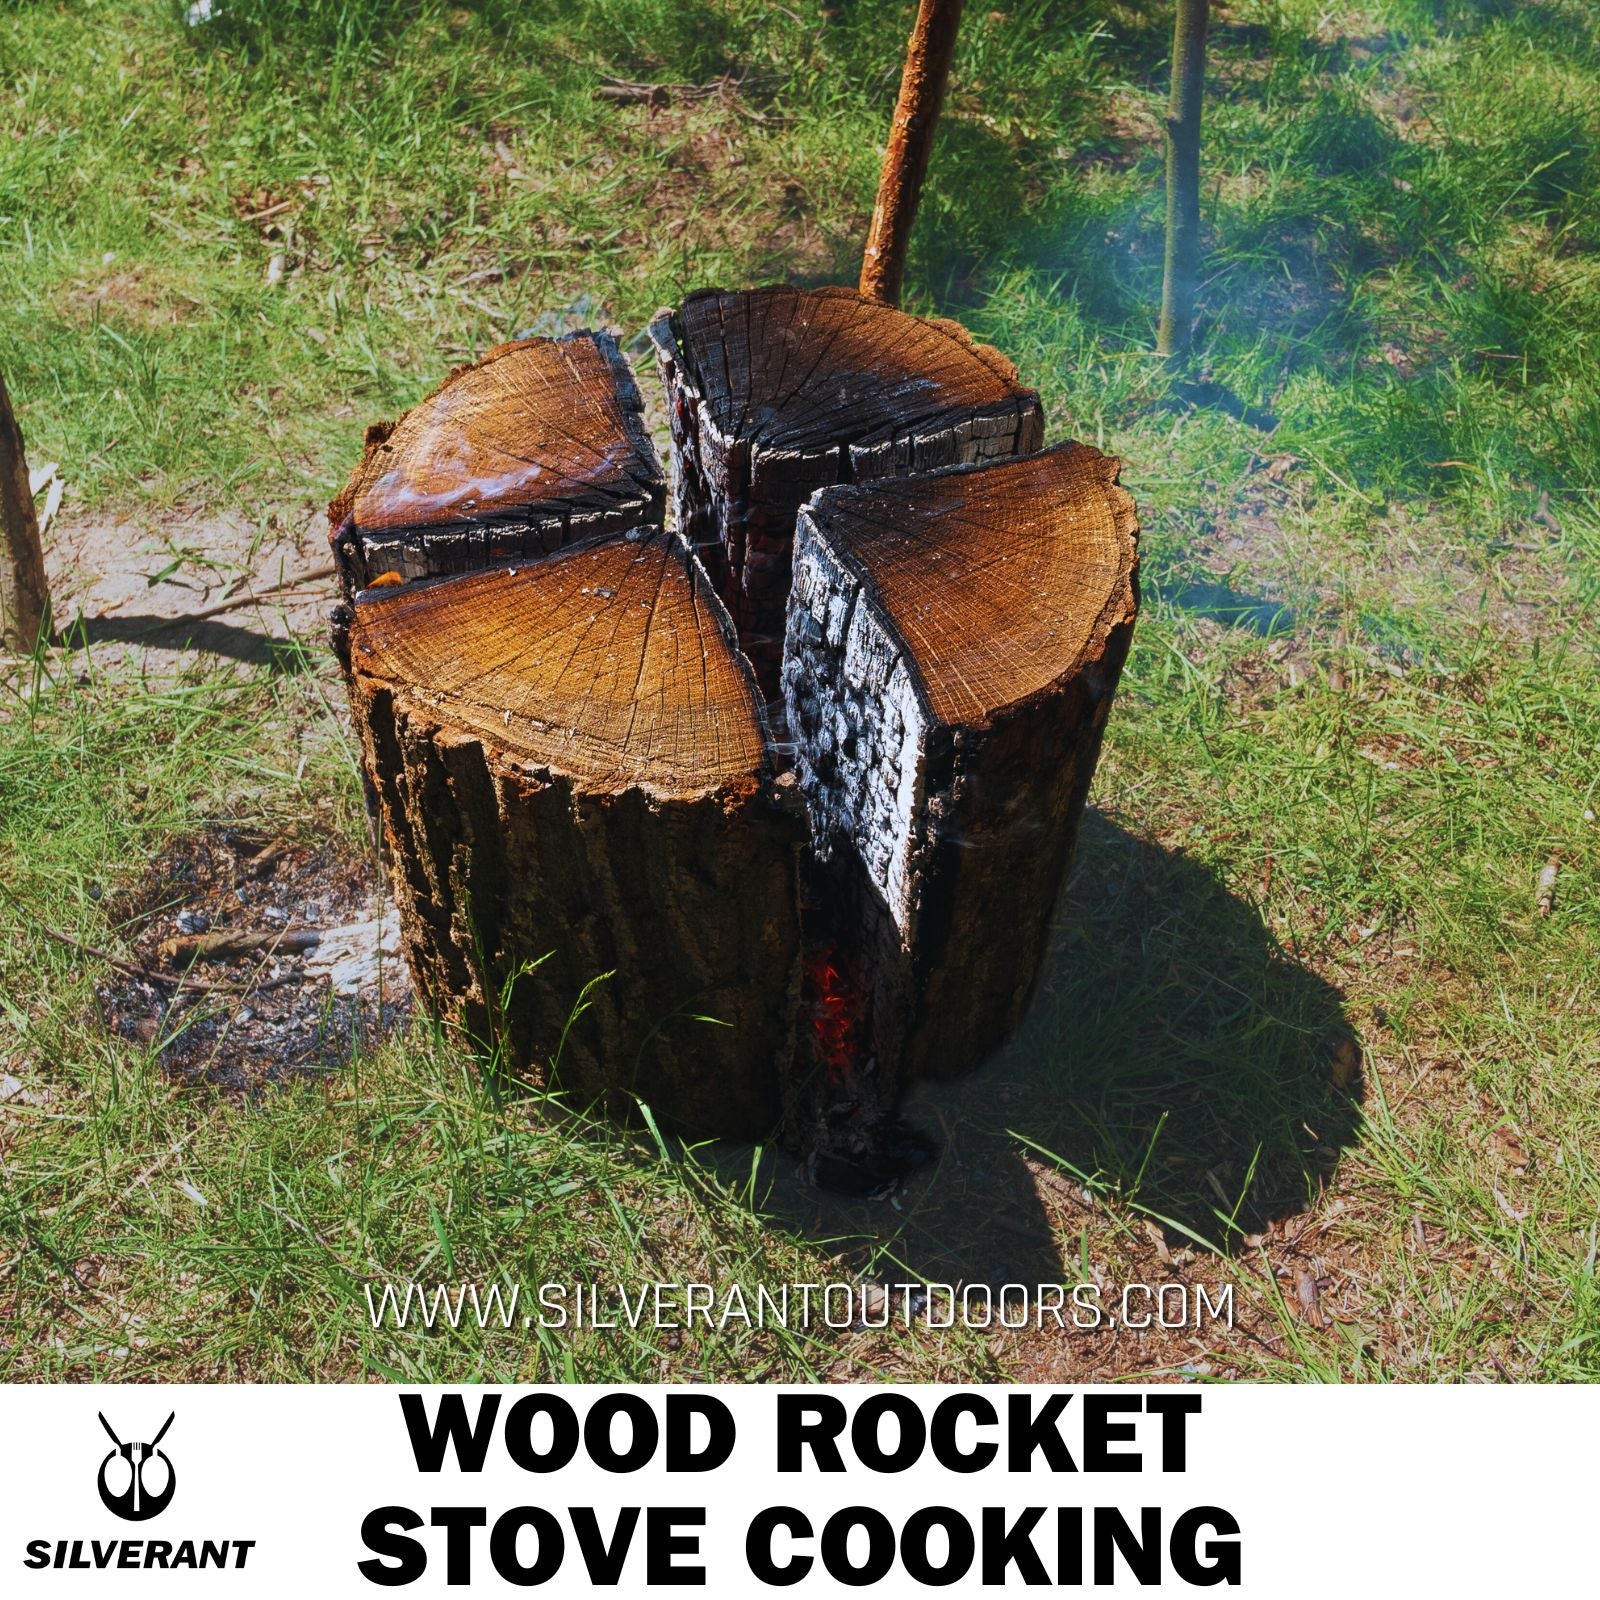
Wood Rocket Stove Cooking
But if you want a cooking method that’s more efficient, here comes the wood rocket stove.
This nifty stove channels airflow to create a concentrated flame, burning small sticks and twigs with remarkable efficiency.
Just toss in some dry wood, twigs, or pinecones, and there you go – you’ve got a powerful flame ready for your cookware.
It’s a sustainable choice as well, reducing your impact on the environment while elevating your outdoor cooking experience.
But remember, always put out the fire in the stove completely before leaving it in nature.
How to make a wood rocket stove
Now, let’s get down to making a wood rocket stove. My favorite is the Swedish Fire Log – it’s hot and works like a charm.
Start by grabbing a log, around 350mm tall and 150mm wide. Larch is my pick for that bright burn and long-lasting embers.
Now, split that log into four even pieces lengthwise and hollow it out – not all the way down, though.
Take your saw and cut across the center section of each piece, about 100mm from what’ll be the bottom of your rocket stove. Grab your knife and split the wood from the middle down to that cut.
Line those logs up, hold them tight, and carve out a V-shaped hole on two pieces next to the cut – that’s your ignition spot where the breeze fans the flames.
Last touch, tie it up at the bottom, burying it a bit in the soil to keep things smooth.
Now, for the cooking bit, just pop your cookware on top of the stove, making sure it’s steady.
The controlled flame lets you nail the right temperature, whether you’re boiling water for your coffee or tea or sauteing some fresh veggies.
If you haven’t given it a shot before, it’s definitely worth your time.
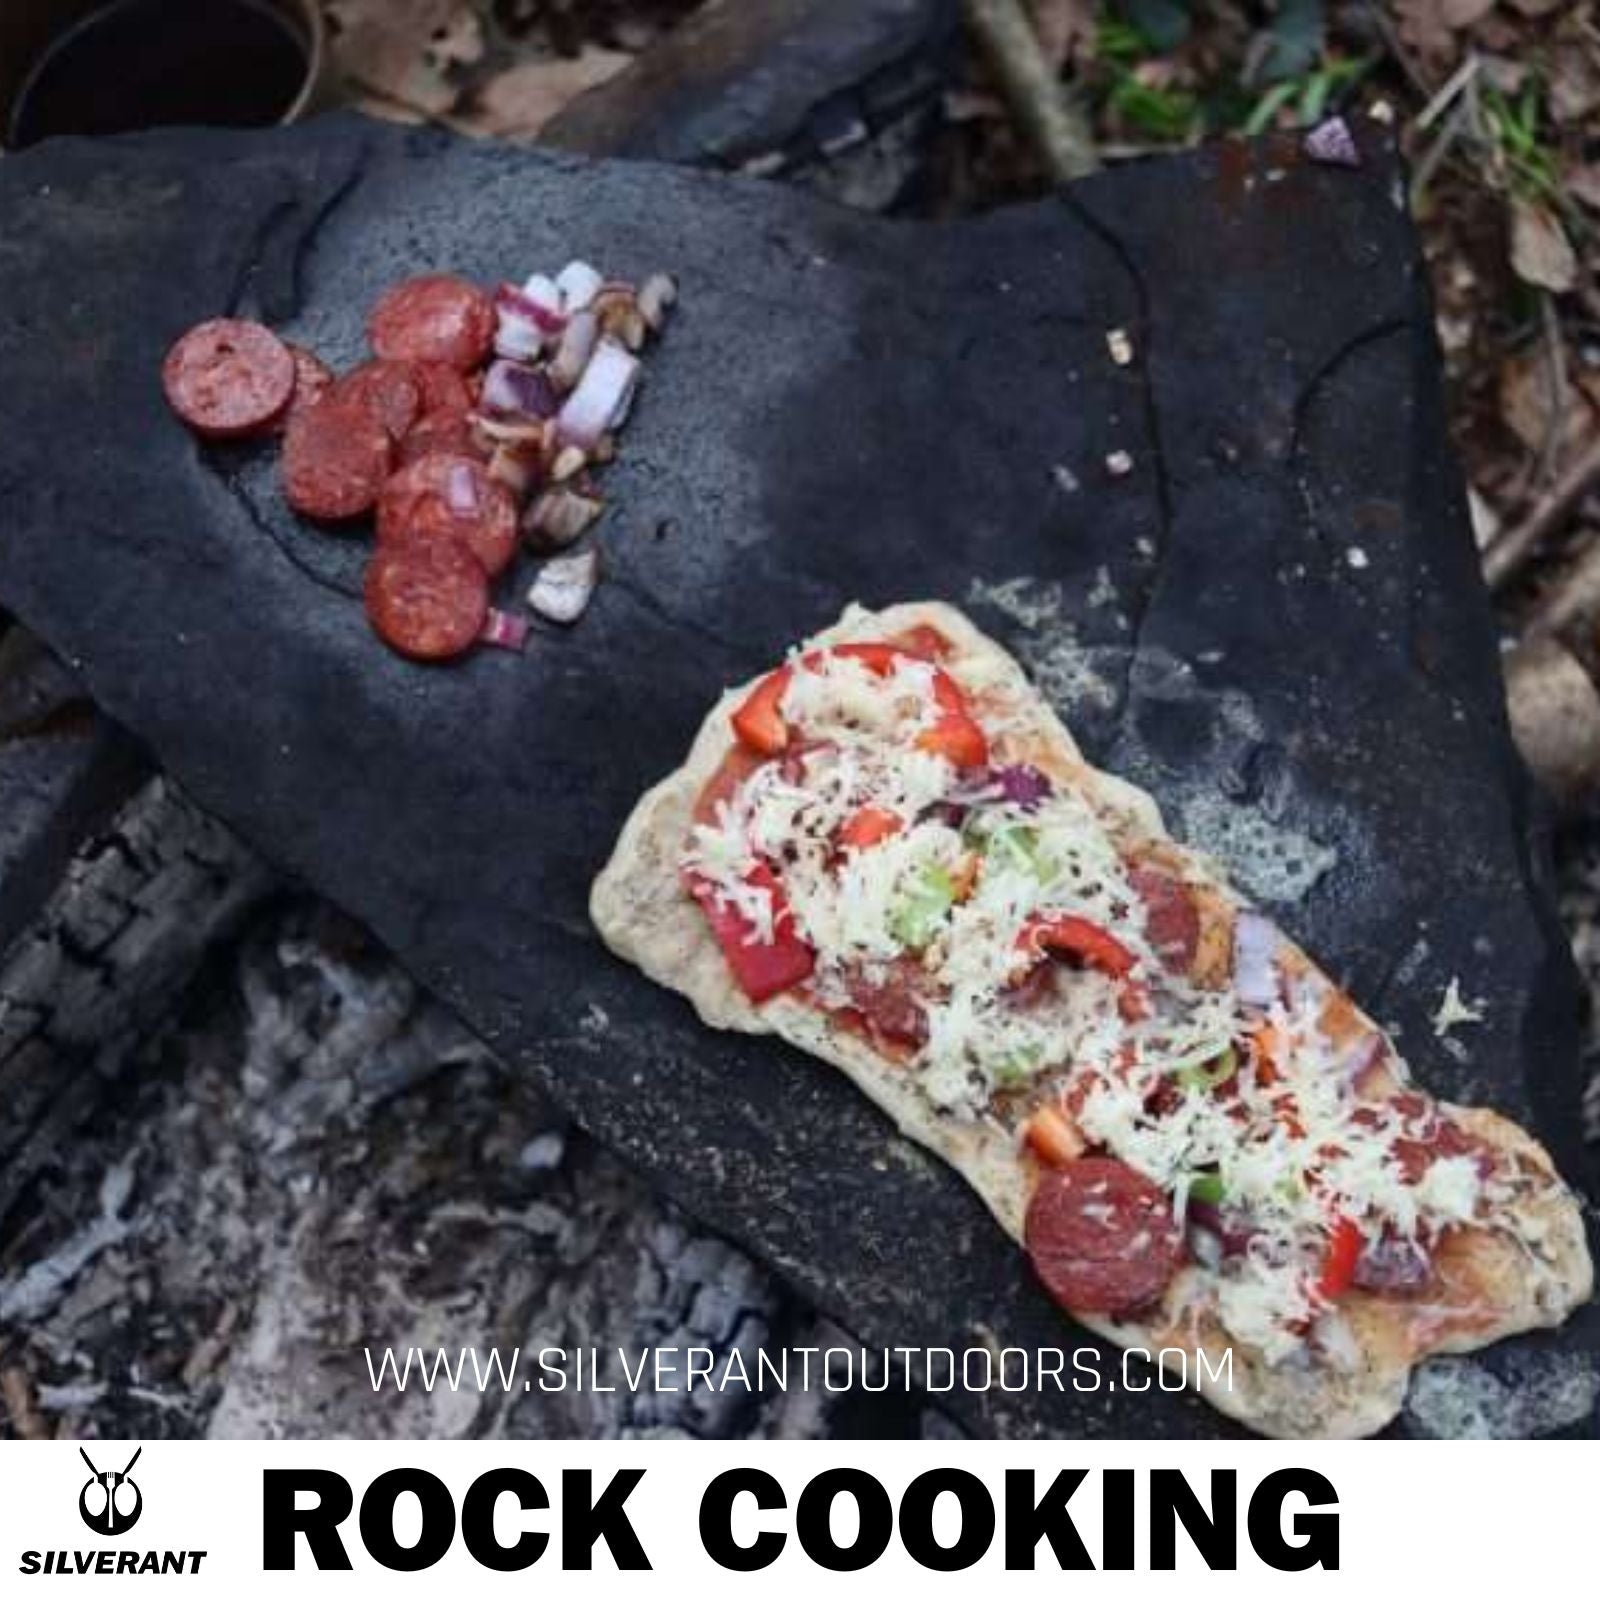
Rock Cooking
Moreover, if you’re not even keen on carrying cooking equipment, rock cooking is a solid option.
It adds a little extra flavor and opens up new options for cooking all sorts of foods that you can’t just toss on the fire.
Just hunt down some smooth, flat rocks from around you and chuck them straight into the fire until they’re nice and toasty.
Once your rock “stove” is good to go, use some tongs or a sturdy stick to place your food on those hot rocks.
These rocks hold onto that heat, creating a simple yet effective way to cook outdoors.
Rock cooking is an ancient technique that really brings you back to nature and gives your meals that rustic, back-to-basics vibe.
But here’s the catch – you gotta pick your rocks carefully. Not all rocks are created equal.
You want ones that are hard, evenly dense, without any cracks or holes, and formed in a sturdy way.
And let’s talk safety – make sure your rock doesn’t have any funky minerals that could be toxic.
If there’s anything iffy about the rock, chances are it’ll seep into your food when it’s heated up.
Our go-to rock is granite. It’s safe, can handle high temperatures, and does a fantastic job cooking up meats, seafood, veggies, and dough-based goodies.
And trust me, giving rock-cooked pizza a shot is a must.
Moreover, when you’re picking your rock, aim for a chunk about 3-4cm thick.
Thinner can’t hold up well over time, while thicker rocks take forever to heat up and can be a pain to handle.
Oh, and since granite’s a bit porous, give it a little oil before cooking.
Once your cooking magic is complete, flip that rock carefully. Let the cooking side soak up some serious heat to wipe out any sneaky bacteria hiding in those little pores.
And when it’s time to cool down, just let the rock chill naturally. Pouring cold water on it can make it crack.
So, pick the right rock and treat it right – your cooking rock will be your trusty sidekick for plenty of tasty meals ahead.
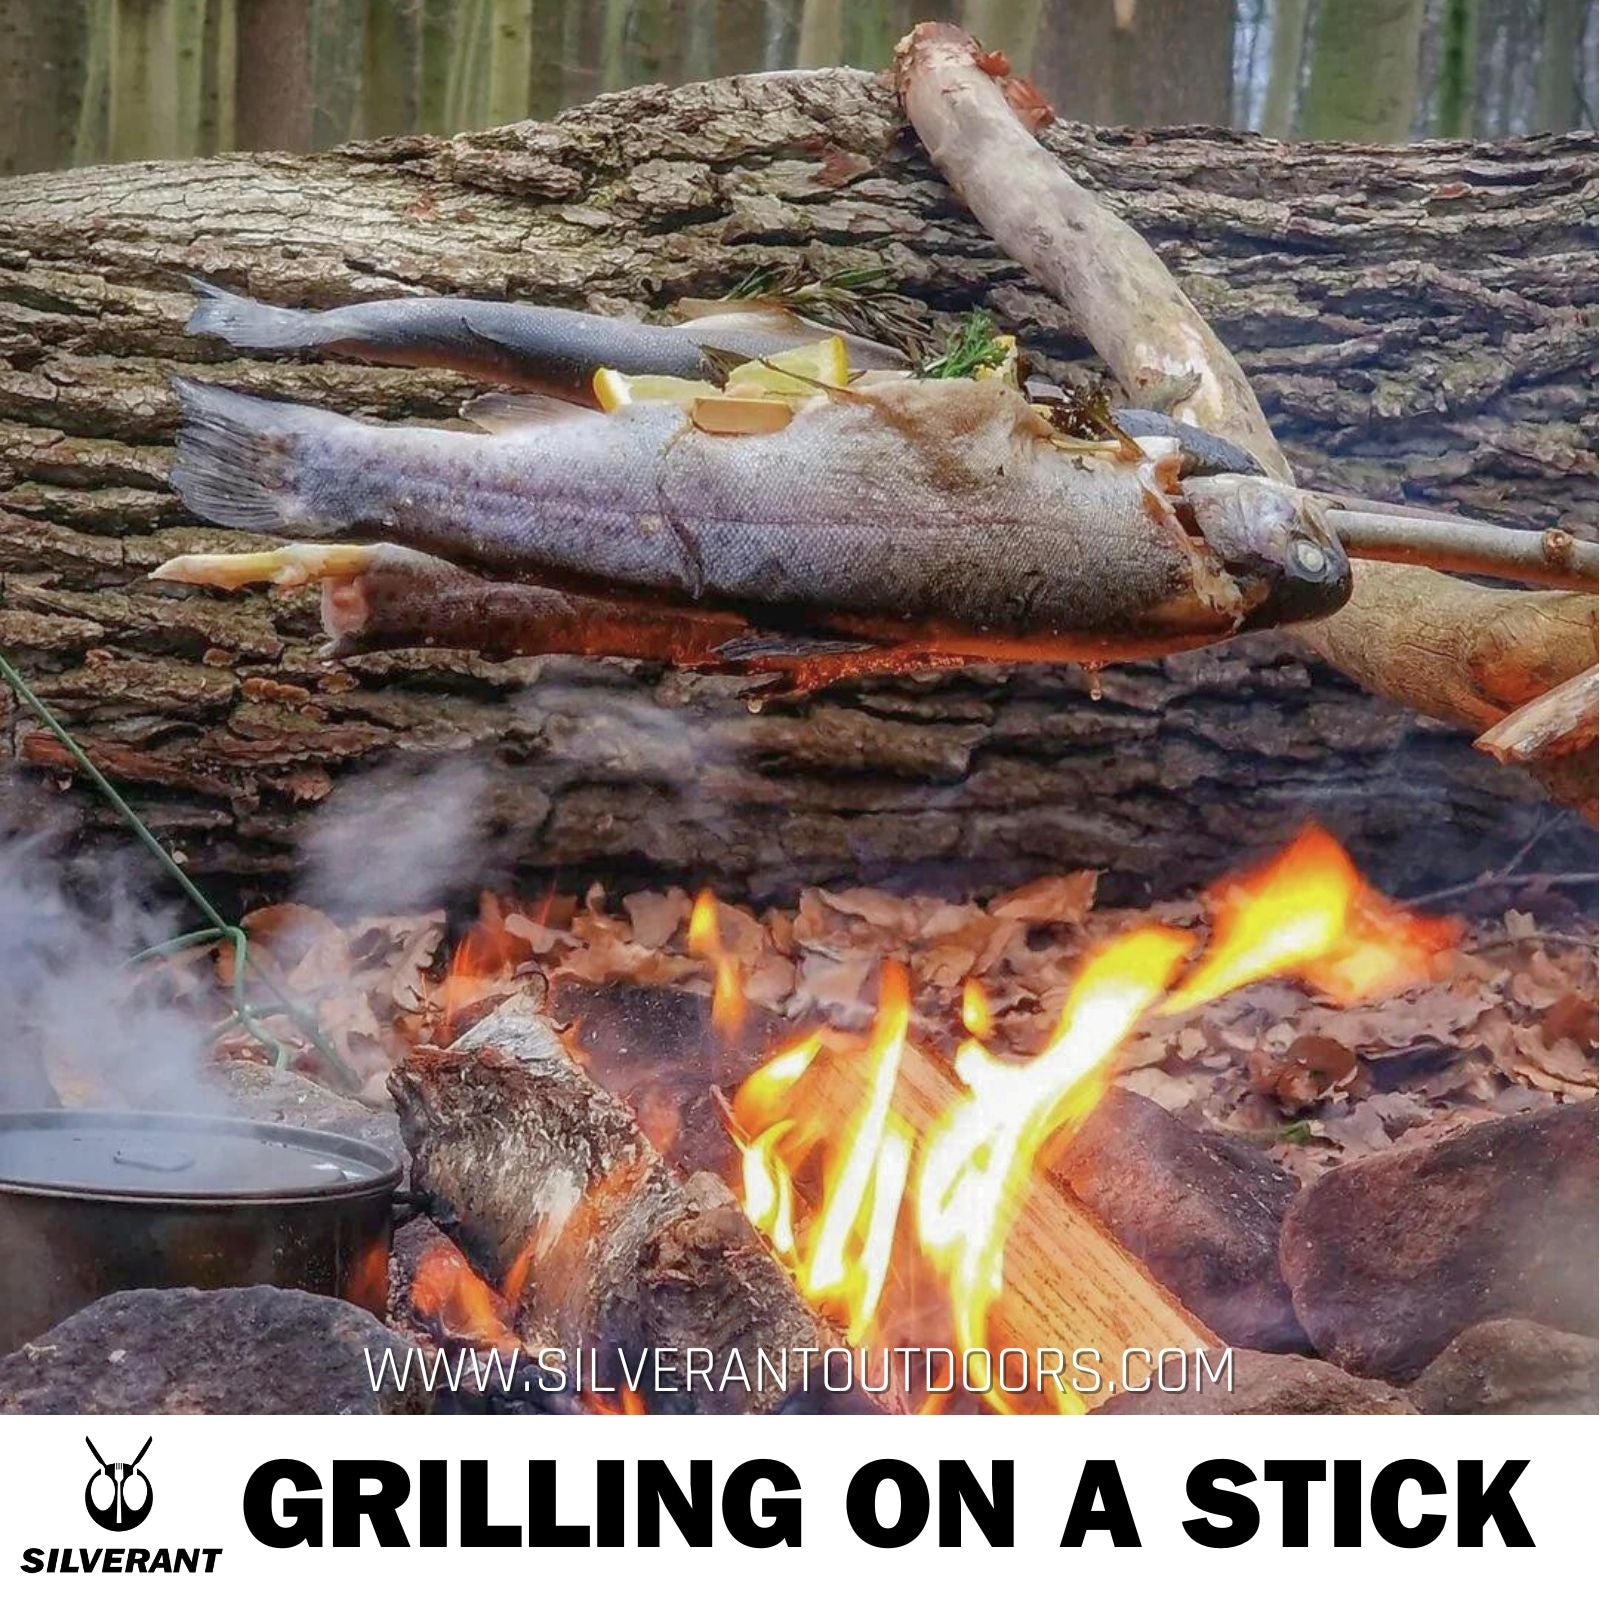
Grilling on a Stick
Sometimes, the simplest ways bring the most joy. Grilling on a stick is the ultimate in back-to-basics bushcraft cooking.
Plus, it’s not just about the tasty smoky flavor – it’s also about getting hands-on and really getting into the cooking vibe.
Here’s how it goes: Find yourself a nice sturdy green stick from a safe, non-toxic wood.
Use a good knife to sharpen one end, turning it into a makeshift skewer.
Next up, thread on some marinated meat, veggies, or maybe even some marshmallows if you’re feeling sweet.
Hold that stick over an open flame, giving it a good rotation to make sure everything cooks evenly.
The fire’s direct touch gives your food that delicious smoky flavor, and the simplicity of it all is what outdoor lovers adore.
But hey, when you’re grilling fish or meat, it does take a bit more time. So, here’s a neat trick: grab two Y-shaped sticks.
Stick them into the ground along the diameter of your open fire. Then, lay your meat stick right on those Y joints and spin it regularly to make sure everything cooks evenly.
This trick’s a big hit, especially when grilling up a whole sheep Mongolian style.
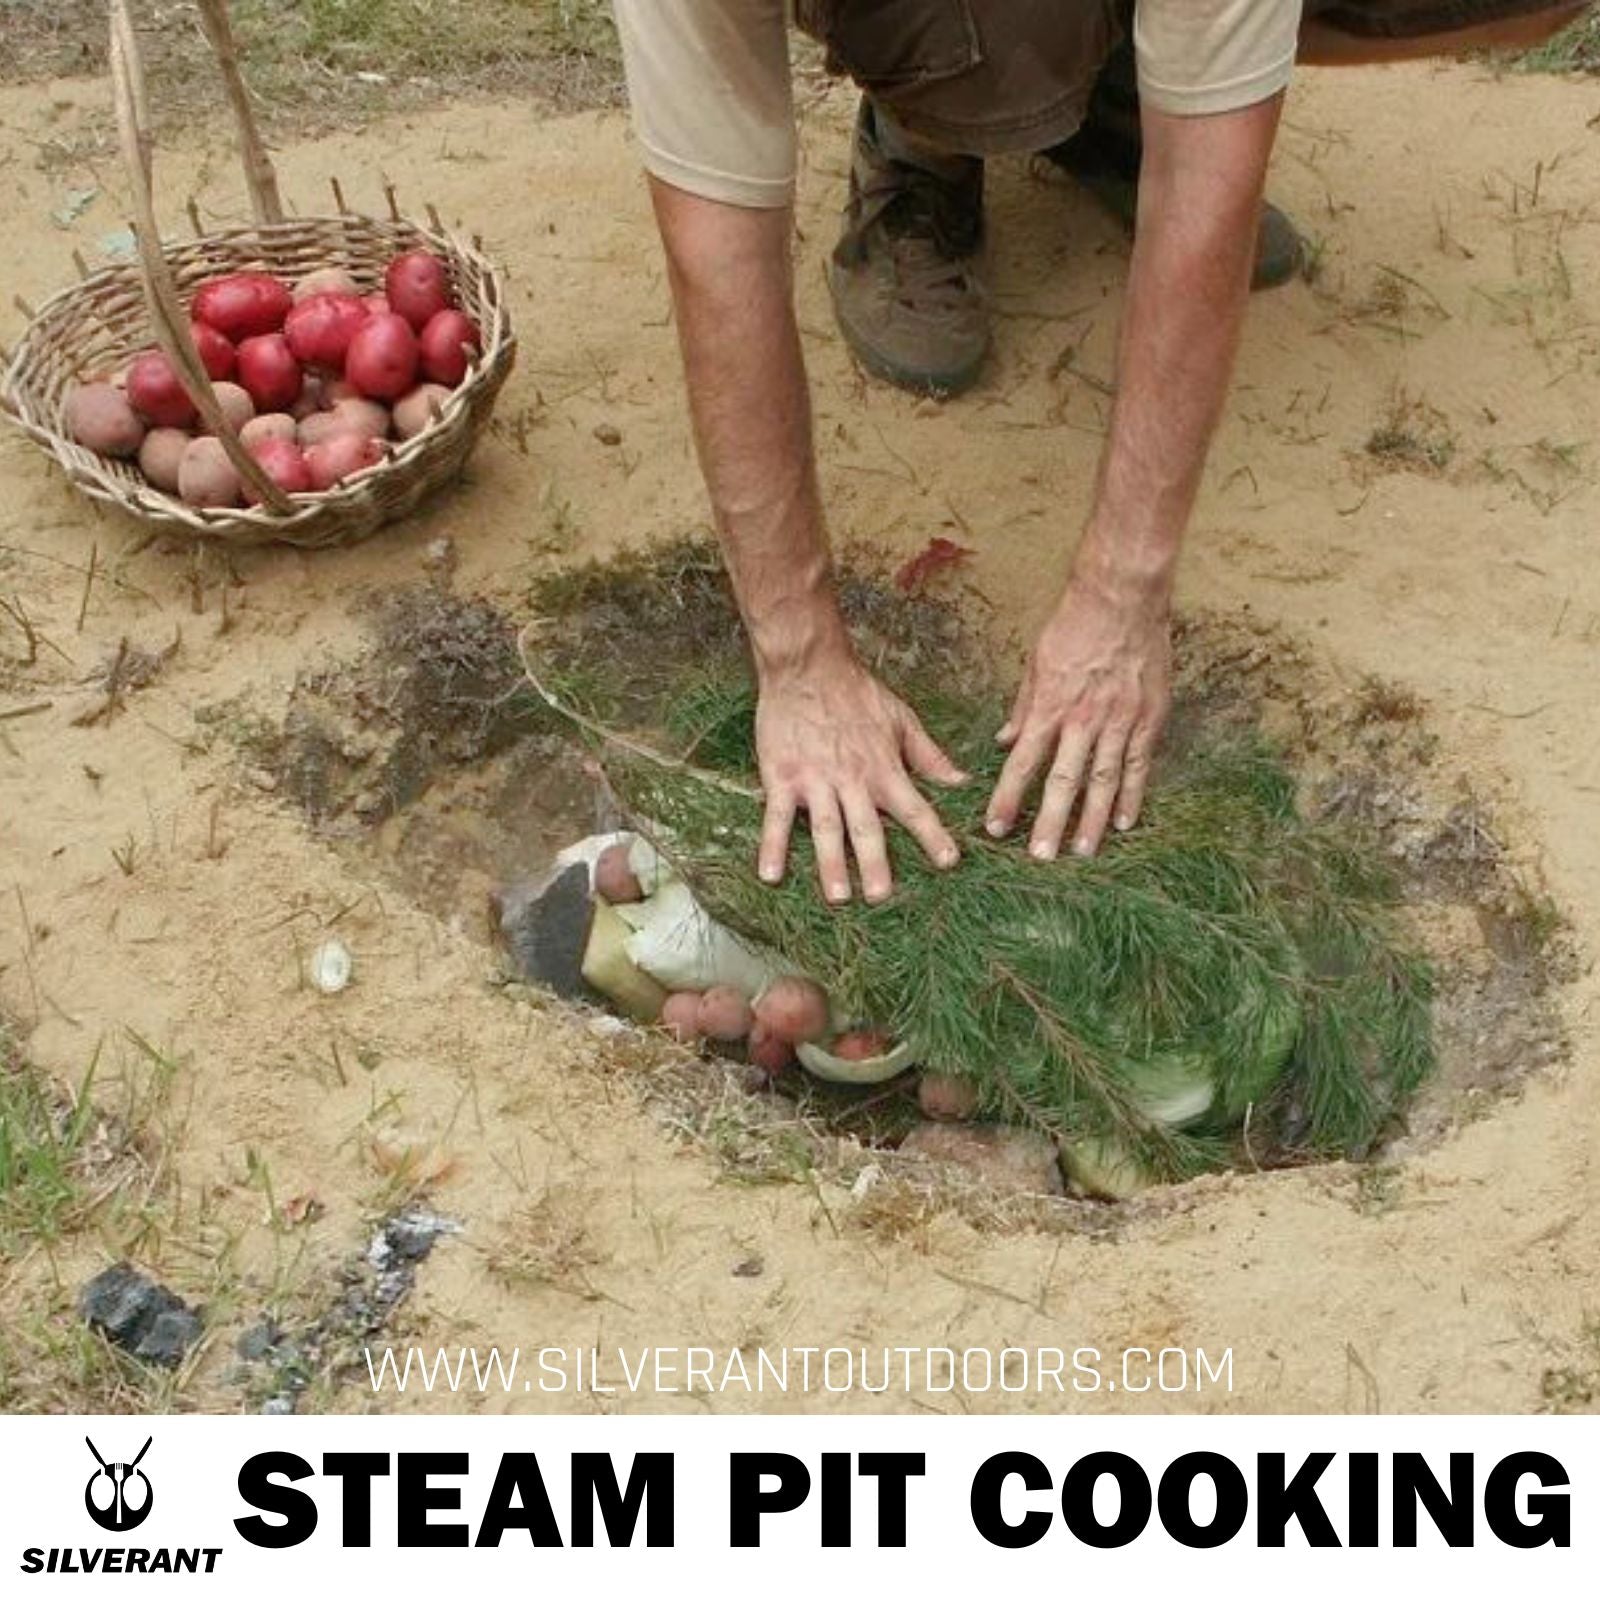
Steam Pit Cooking
If you’re getting a bit tired of the usual grilled fare and fancy something extra tender and juicy, steam pit cooking is the way to go.
This method is like magic for slow-cooking meats, veggies, and even bread.
The gentle steam does wonders, infusing delightful flavors into your food while keeping it moist and succulent.
Here’s the lowdown: Dig a pit about 2 feet (60.96cm) deep in the ground, toss in some rocks, and light up a fire.
Once the pit is rocking nothing but hot stones, slap on some soil or sand to cozy up those rocks.
Now, add some green stuff – think grass, seaweed, pine boughs with green needles, or any safe green plant material you can find.
Lay your food on top in a single layer. Root veggies are killer, and so is seafood. If your food is on the delicate side (like fish), wrap it up with big, edible leaves (try burdock). Cover it all up with the rest of your greenery.
Lastly, seal the deal by covering the pit with dirt, trapping in all that steam, and turning it into a DIY steaming machine.
Let it cook for at least 2 hours, but 3 hours would be even better. When you reckon it’s done, carefully uncover the pit, throw on some work gloves, and pull out your food.
Steam pit cooking is an ancient technique used by folks worldwide.
The earthy scents and juicy flavors it brings will transport your taste buds back in time, making your outdoor feast both timeless and delicious.
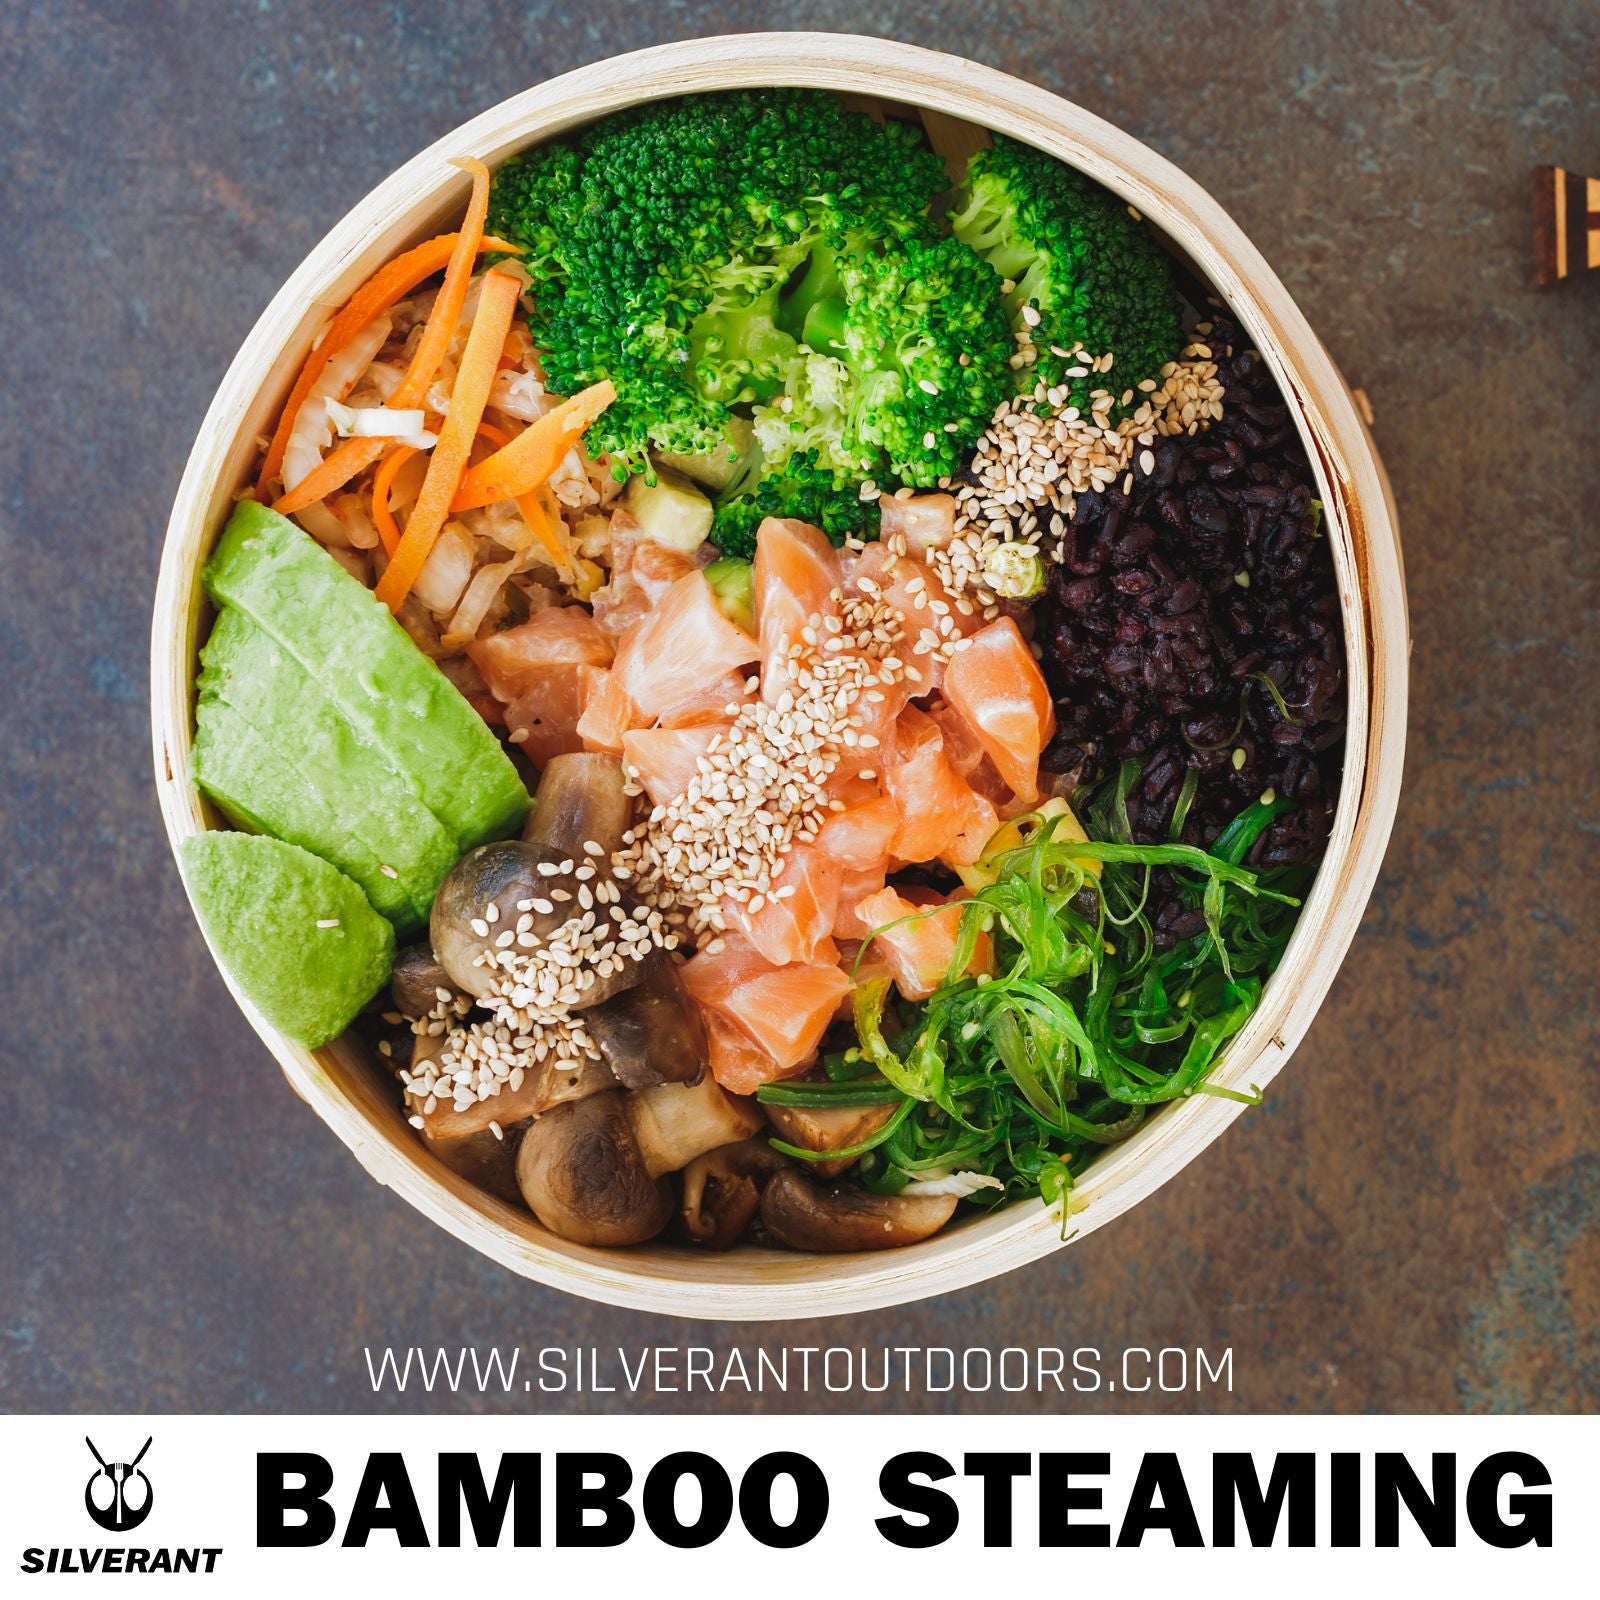
Bamboo Steaming
Lastly, for a bit of Asian-inspired cooking fun outdoors, try bamboo steaming.
Bamboo isn’t just something Kung Fu Panda munches on; it can double up as a nifty makeshift steamer.
With this setup, you get to keep the natural goodness in your food, whether it’s seafood, veggies, or rice.
Here’s the lowdown on how to kick things off: First up, grab a straight piece of bamboo. The thicker, the better. Then, chop out a chunk with a nice, fat diameter.
Next, shape a flat lid from a bamboo node, making sure to poke some holes in it to let that steam out.
Now, fill those bamboo tubes with a splash of water, pile your ingredients on top, and cover it all snugly with that bamboo lid.
Last but not least, hang those bamboo wonders over the flames. As the water starts bubbling away, the steam does its thing, cooking your grub to perfection.
And here’s the best part – not only is it a breeze to do, but it also gives your dishes that delicious earthy bamboo flavor.
Just imagine digging into perfectly steamed dumplings, succulent fish, or fluffy rice, all with that extra touch of bamboo goodness.
It’s like embarking on an Asian culinary journey right there by your campfire, making your outdoor meals not just tasty, but efficient too.
Conclusion
In wrapping up, cooking outdoors isn’t just about fueling up; it’s about adding some serious fun to your adventure.
And these 7 bushcraft cooking techniques, beyond your typical camp stove, can really take your outdoor experience to the next level.
With cookware in hand, if you’re all about keeping it simple, open fire cooking is the way to go. Need some precise temperature control? tripod cooking’s got your back. And for efficiency, wood rocket stove cooking is the top pick.
Now, if you’re flying solo without any cookware, but still craving that smoky flavor, rock cooking or grilling on a stick is where it’s at. And if juicy, tender bites are more your thing, give steam pit cooking or bamboo steaming a whirl.
Whether you’re drawn to the primal vibes of open fire cooking or the cleverness of bamboo steaming, each method connects you to nature, making every meal an unforgettable adventure.
Oh, and remember, besides the titanium cookware we talked about earlier, don’t overlook our titanium water bottle, cutlery, and tableware – they’ll make your dining experience even better.
What about you? What’s your go-to cooking technique when you’re out in the wild without a camp stove? Drop us a comment or shoot us a message – we’re all ears and ready to chat.
To your next adventure
Steve