In that post, I explained that winter camping is a unique and rewarding experience, but it also brings its own challenges.
These challenges don’t just apply to staying hydrated—they affect cooking, too.
When it gets cold, cooking can be much harder than usual. The cold can make even simple meals take longer to prepare.
You’ll need to plan carefully, use the right gear, and know the best ways to cook in winter.
So, in this post, we’ll show you everything you need to know about cooking hearty meals while winter camping.
We’ll share tips on meal prep, cooking methods, and some tasty recipes to make cooking easier. We’ll also give you easy campsite hacks to follow, along with important safety tips for cooking in the cold.
By the end, you’ll have everything you need to cook up delicious meals and enjoy every bite on your next winter camping trip!
Winter Camping Meal Prep
As we’ve discussed many times before, preparation is key to everything—and winter camping cooking is no exception!
Poor planning in cold weather can lead to delays, frustration, and even safety issues.
Start by planning your meals for each day. Focus on hearty, nutritious options because, in cold weather, your body burns more calories to stay warm.
You’ll need meals that are high in calories and packed with nutrients to keep your energy up and help you stay warm.
Here are some ingredients to focus on:
-
Whole Grains: Quinoa, rice, barley, and pasta are filling and provide long-lasting energy.
-
Proteins: Include beans, lentils, nuts, seeds, and meats to keep you strong and satisfied.
-
Healthy Fats: Oils, nut butter, and fatty fish are great for boosting your caloric intake.
Moreover, to avoid mealtime boredom, pack a variety of meals for breakfast, lunch, dinner, and snacks.
For example, oatmeal or burritos in the morning, hearty soups for lunch, and stews or pasta for dinner.
A mix of flavors and textures will help keep you satisfied and make cooking feel less like a chore.
Plus, you can prep parts of your meals before you leave to save time at the campsite.
Pre-cook proteins like chicken or beef, chop vegetables, and portion out spices. Store everything in zip-top bags or reusable containers for easy access.
This also reduces the weight of extra packaging, which can add up and take up space in your pack.
Another handy tip: use the cold weather to your advantage for food storage.
Pack perishable items like meat or dairy while they're frozen. As they thaw during your trip, you'll have fresh meals to enjoy a few days in a row.
Frozen vegetables and pre-made meals also work well, helping to keep other ingredients cool as they thaw.
It’s also important to bring just enough food for each meal, but in winter, be sure to pack a few extra servings of energy-dense snacks like trail mix, dried fruits, or energy bars to stay fueled.
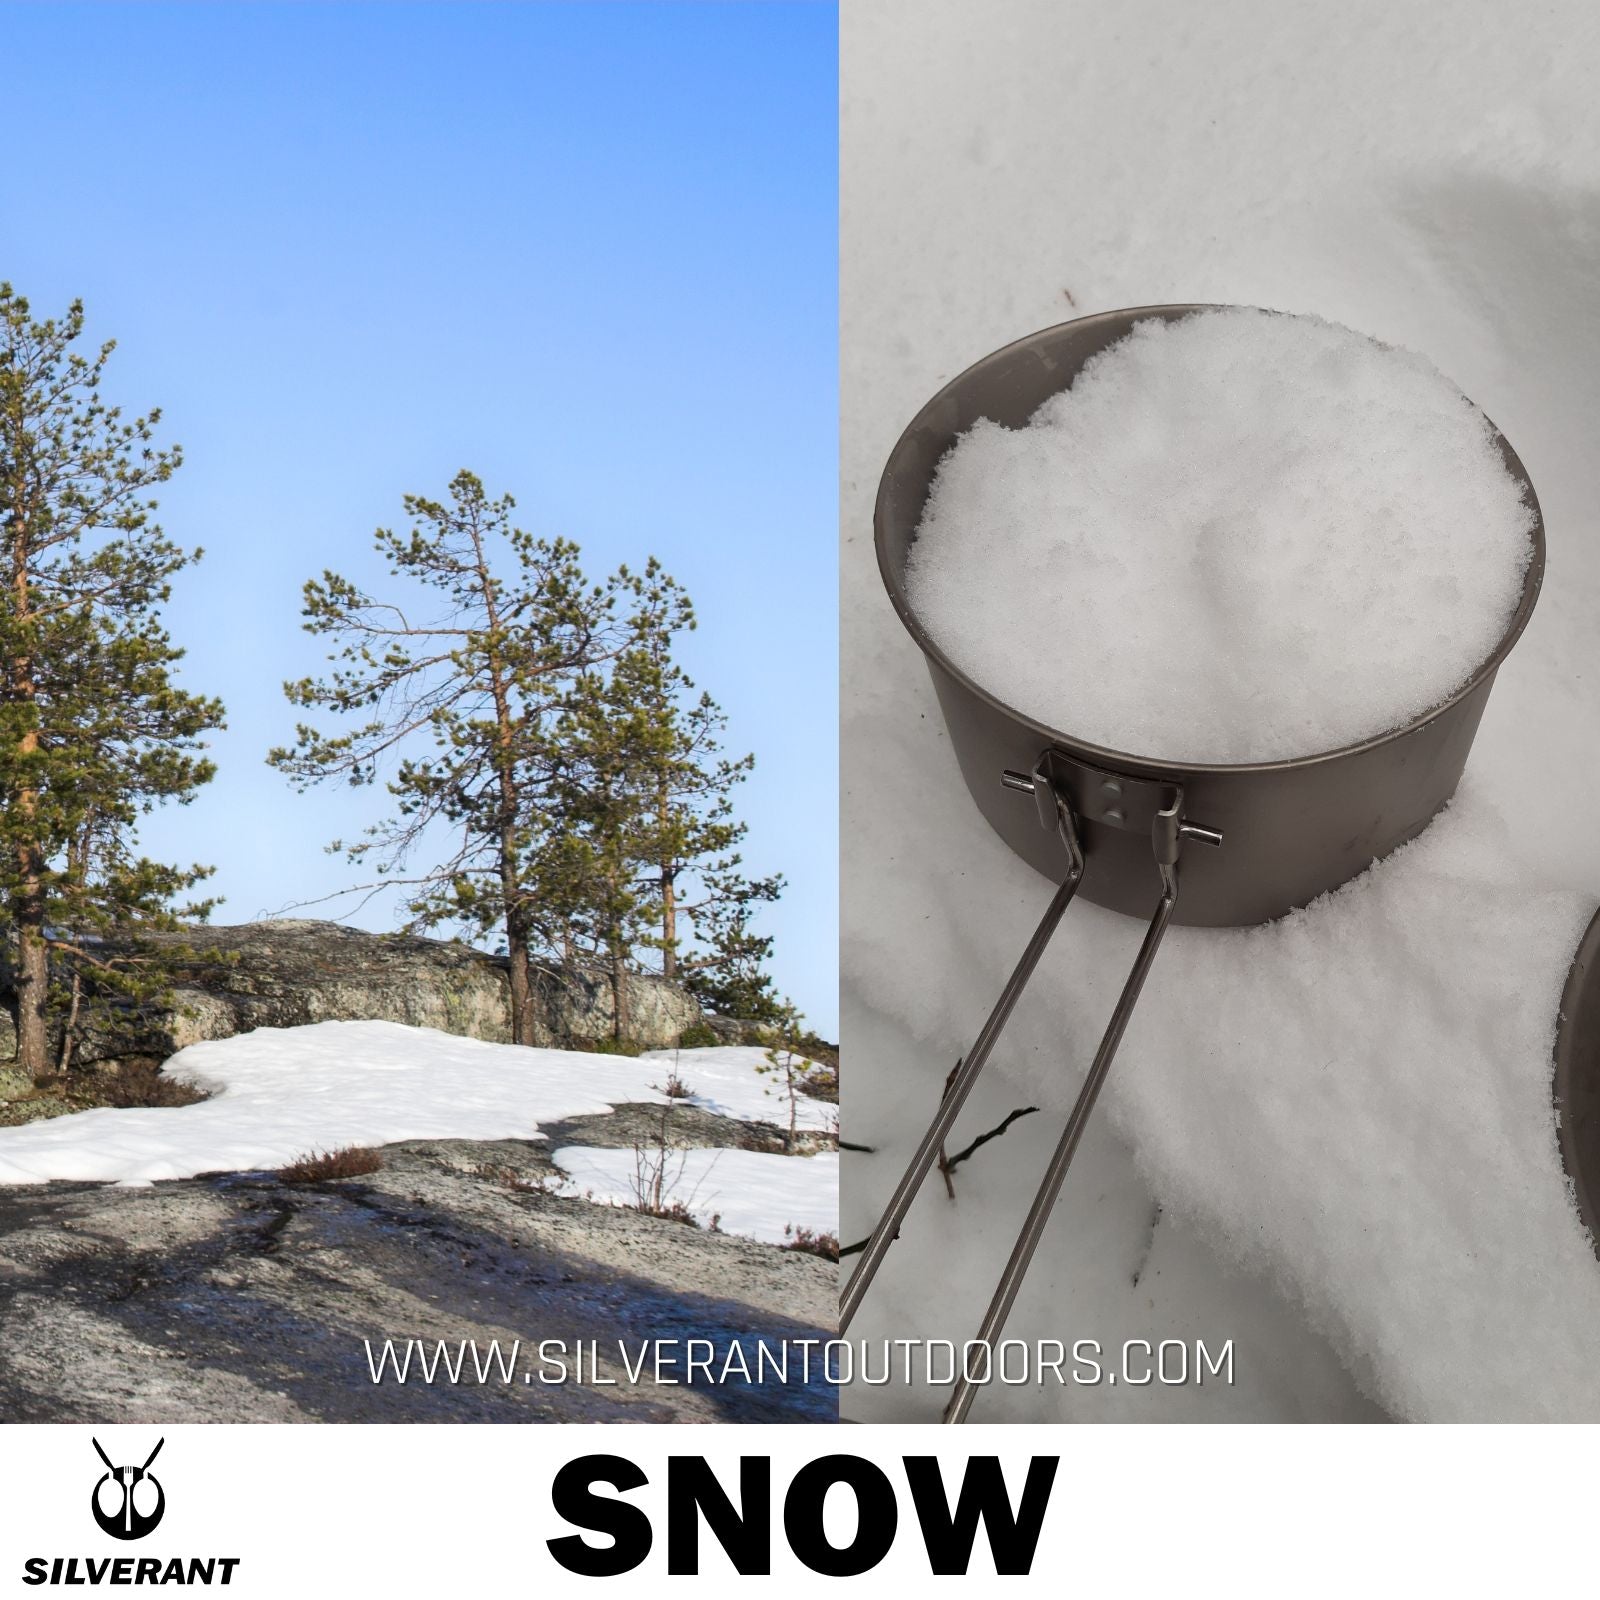
Finally, don’t forget your titanium cookware. They’re durable, lightweight, and resistant to extreme temperatures.
A titanium pot and pan set allows you to cook a variety of meals without adding extra weight.
Plus, titanium is super easy to clean, meaning you’ll spend less time cleaning up in the cold.

Cooking Methods for Winter Camping
Once you're geared up, it’s time to turn those ingredients into hearty, delicious meals.
Here are some practical cooking methods that’ll help you make the most of your winter camping experience.
One-Pot Meals
To start, the one-pot meals are perfect for winter camping because they simplify both cooking and cleanup.
You can combine all your ingredients into a single pot, letting the flavors blend together beautifully.
Just add your protein, vegetables, broth, and seasonings, then let everything cook until it’s warm and comforting.
For the fire, because canister stoves can struggle in the cold due to pressure issues, a multi-fuel stove with solid fuel tablets or a good campfire works best.
If you're new to building a campfire, check out this blog post to learn how to get the fire going and cook safely.
This method is also great for making hearty soups and stews. Slow cooking allows the ingredients to absorb flavors, resulting in a nourishing and satisfying meal.
Foil-Pack Cooking
Foil-pack cooking is another excellent option for meals over a campfire.
Simply wrap proteins, vegetables, and seasonings in aluminum foil, and place them on hot coals or a grill grate.
After about 20–30 minutes of sitting around the campfire, you’ll have a tasty meal ready to enjoy—without any pots or pans to clean!
Grilling
Grilling during winter camping is a fantastic way to add smoky flavor to your meals.
Use a grate over the campfire or a portable grill stove to cook meats, vegetables, or even pizzas.
Just keep an eye on your food to prevent burning, especially in the cold, where cooking times may vary.
The smoky taste will make your meal even more memorable!
Baking
If you’re camping in a tent with a tent stove, why not bake some tasty treats? You can make bread, biscuits, or even desserts over your stove.
Prepare your dough, place it in a preheated frying pan on the stove, and cover it with a lid.
The heat will create an oven-like effect, perfect for baking your favorite meals or treats.
You can also fry eggs or cook steaks this way, giving you a variety of meal options to enjoy on your winter camping trip!
Steaming
Steaming is a lesser-known but effective cooking method while camping.
It’s been used for centuries in places like China, Japan, and Korea, and still works wonders in modern camping.
To steam, all you need is a pot with a lid. Add a small amount of water to the bottom of the pot, then place a rack or a foil tent over your food.
This method is ideal for cooking vegetables or fish, allowing them to stay moist, retain nutrients, and cook evenly.
If you're new to winter camping, starting with one-pot meals and foil-pack cooking will make things easier.
Once you get the hang of it, feel free to experiment with grilling, baking, and steaming for even more tasty options!

Hearty Recipes for Winter Camping
Next up, let’s take a look at some hearty meals for the whole day, covering breakfast, lunch, dinner, and even dessert, all using the cooking methods we’ve mentioned.
Breakfast burritos
For breakfast, while oatmeal is a familiar go-to for many, let’s explore another great option—Breakfast Burritos.
They’re portable, easy to make, and give you a solid energy boost to power you through your day.
Ingredients:
-
4 tortillas
-
4 eggs
-
1 cup diced vegetables (bell peppers, onions, spinach)
-
1/2 cup shredded cheese
-
Salt and pepper to taste
-
Salsa (optional)
Instructions:
-
In your frying pan, scramble the eggs with the vegetables, seasoning with salt and pepper.
-
Once the eggs are cooked, add the shredded cheese and let it melt into the mixture.
-
Spoon the egg mixture onto the tortillas, roll them up, and wrap each burrito in foil.
-
Heat the burritos on a campfire grate or stove until they’re warm. Serve with salsa if you’d like.
Winter Vegetable Soup
When lunchtime comes around, nothing beats a bowl of hearty vegetable soup.
It's perfect for warming you up and keeping you hydrated during your winter camping adventures.
Ingredients:
-
1 onion, diced
-
2 carrots, sliced
-
2 potatoes, cubed
-
1 cup green beans, chopped
-
4 cups vegetable or chicken broth
-
1 can diced tomatoes
-
1 tsp dried herbs (thyme, basil)
-
Salt and pepper to taste
Instructions:
-
In your cooking pot, sauté the onion in oil until translucent.
-
Add the carrots, potatoes, and green beans. Stir and cook for a few minutes.
-
Pour in the broth and diced tomatoes, then add the herbs, salt, and pepper.
-
Bring the mixture to a boil, then reduce the heat and simmer for 30-40 minutes until the vegetables are tender. Serve the soup in bowls and enjoy!
One-pot Pasta with Sausage and Spinach
As night falls and the temperature drops, nothing hits the spot like a hearty pot of pasta.
It’s quick, simple, and comforting—perfect for warming you up after a day outdoors.
Ingredients:
-
8 oz pasta (penne or rotini)
-
1 lb Italian sausage, sliced
-
2 cups fresh spinach
-
4 cups chicken or vegetable broth
-
1 tsp garlic powder
-
Parmesan cheese for serving
Instructions:
-
In your cooking pot, brown the sausage over medium heat until it’s cooked through.
-
Add the pasta, broth, and garlic powder. Bring the mixture to a boil.
-
Reduce the heat and simmer for about 10-12 minutes, or until the pasta is tender.
-
Stir in the spinach until it wilts.
-
Serve with a generous sprinkle of Parmesan cheese on top.
Fruit Crumble
As the night deepens and you're relaxing around the campfire, why not treat yourself to a sweet dessert like Fruit Crumble?
It’s an easy, delicious way to end your day on a sweet note.
Ingredients:
-
2 cups of mixed berries or apples, sliced
-
1 cup granola
-
1/4 cup brown sugar
-
1/4 cup butter, melted
-
Cinnamon to taste
Instructions:
-
In your frying pan, layer the fruit.
-
Mix the granola, brown sugar, melted butter, and cinnamon in your anti-corrosive titanium bowl,
-
Sprinkle the mixture over the fruit.
-
Place the pan over coals or on a campfire grate and heat for about 10-15 minutes, until warmed through.
-
Enjoy your sweet treat!
From warming breakfasts to hearty dinners and sweet desserts, these easy, delicious recipes will keep you fueled and satisfied during your winter camping adventure!

Campsite Cooking Hacks
When you're cooking in the winter, you'll quickly notice it can feel less enjoyable than on warmer days because of the cold.
But don't worry—there are some simple hacks to make your cooking experience more comfortable and efficient.
First, insulate your cooking gear. In the cold, your pots and utensils can get chilly, making them uncomfortable to handle.
To keep them warmer and easier to use, try wrapping them in towels or storing them in insulated bags when they’re not in use. This will help you maintain warmth while cooking.
If you only have a canister stove, be sure to wrap the canister in towels as well. Cold weather can affect the performance of gas canisters, and insulating them will help ensure they work properly for your meals.
When you’re setting up a fire, it’s not just about the windscreen that comes with your stove.
Adding a windbreak around your cooking area, like a tarp or natural barriers such as rocks or logs, can make a big difference. It helps to block cold winds, keeping your cooking area warm and making it easier to cook, especially on windy days.
Another simple tip is to boil more water than you need.
The extra hot water can be stored in an insulated flask for later use, whether for washing dishes or making hot drinks. It saves time and effort, and you won’t have to keep boiling more water.
Winter cooking also requires some dexterity, so layer up!
Wear a pair of heat-resistant gloves over thin liner gloves to keep your hands warm while still being able to handle your pots, utensils, and campfire tools without losing flexibility.
Finally, cleaning up in winter can be more challenging, but it doesn’t have to be a hassle.
Bring biodegradable wipes for quick and easy cleanup, and be sure to pack a trash bag to keep your campsite tidy. Having a dedicated cleanup kit will make the whole process run smoothly after meals, leaving you more time to relax and enjoy the cold weather.
By following these simple hacks, you'll be able to enjoy winter camping meals without letting the cold get in the way!

Safety Tips for Cooking in Cold Weather
Finally, cooking in cold weather presents its own set of safety challenges during your winter camping experience.
However, by following these essential tips, you can ensure your time outdoors remains both safe and enjoyable.
First, managing your heat sources is crucial.
Always keep your stove or campfire at a safe distance from anything flammable, and make sure to cook outside your tent unless you're using a proper tent stove.
This helps prevent dangerous carbon monoxide buildup, which can be life-threatening. Even if the weather is rough, setting up a tarp or lean-to will protect your cooking area from the wind while keeping it safely outdoors.
As we discussed in our previous blog post, staying hydrated in winter is just as important as staying warm, though it's often overlooked.
Make sure to prepare hot drinks throughout the day to encourage hydration, and avoid alcohol, which can increase the risk of hypothermia.
Wildlife safety is another consideration.
Even in winter, animals can be attracted to food smells. Keep your cooking area clean and store food in airtight containers. If you're in bear country, it's essential to hang food away from your campsite.
Lastly, always be prepared for the unexpected.
Cold weather can lead to delays or sudden changes, so carry extra food, hand warmers, and backup heat sources.
With the right precautions, you'll stay warm, safe, and ready to handle whatever challenges winter camping throws your way.

Conclusion
To wrap up, winter camping brings unique rewards—peaceful solitude, and fresh air—but cooking in the cold has its own set of challenges.
With the right approach, though, you can still enjoy warm, comforting meals that keep your energy up and make the experience even more enjoyable.
By following practical meal prep tips—like packing calorie-dense foods and prepping ingredients in advance—you can simplify your cooking.
Cooking methods that work well in the cold, such as one-pot meals and foil-pack cooking, allow you to enjoy simple, filling, and comforting meals.
From breakfast burritos to hearty soups, pasta dishes, and cozy desserts like fruit crumble, these recipes are perfect after a long day outdoors.
Campsite hacks, like insulating cookware, managing wind, and boiling extra water, can make the cooking process smoother and more efficient, so you spend less time worrying about your meals and more time enjoying the experience.
Finally, safety is essential in winter camping. By keeping your heat sources secure, cooking in open areas, staying hydrated, and storing food properly, you’ll be prepared for any surprises that may come your way.
With a bit of preparation and these tips in mind, you’re ready to create warm, satisfying meals that make your winter camping trip unforgettable.
How do you tackle cooking while winter camping? Share your experiences or tips below!
To your next adventure
Steve
]]>